This issue of Midjourney is a description of these items that appear after upscaling the generated images.
You may think that upscaling is the end of the process, but you may be confused by the sudden appearance of many items as shown in ↑.
Therefore, I would like to describe "Make Variations," "Upscale to Max," "Light Upscale Redo," "Beta Upscale Redo," "Remaster," "Web," "Detailed Upscale Redo," and "Pictograms" with images. I would like to describe the "Pictograms" with images.
Trivia: Use Job ID to get to a better position to work.
Before I get into the main topic, here's a little trick.
If the image you want to tweak is hard to find because it is left out in the wild in another channel, or is in a position where you have to go all the way back up the DM, make sure it comes to the bottom.
The method is simple.
React to the image you have generated and press the envelope symbol (the envelope symbol is in the Object category).
Then, you will receive an image like ↓ in your DM for confirmation.
There, you will find the Job ID.
Job ID "aa7d892d-085a-4a1b-b164-ee603d85f316".
Copy this.
Then, in the message field, put "/" and
Find and click on "/show job id".
Paste the job ID you have just copied followed by "job id".
Then press the enter key.
The generated image will then appear at the bottom of the channel or DM.
This makes it easier to concentrate on this image and work with it.
However, entering someone else's Job ID will result in an error. This only applies to images created by you.
About Discord Job Buttons
Now, to the main issue.
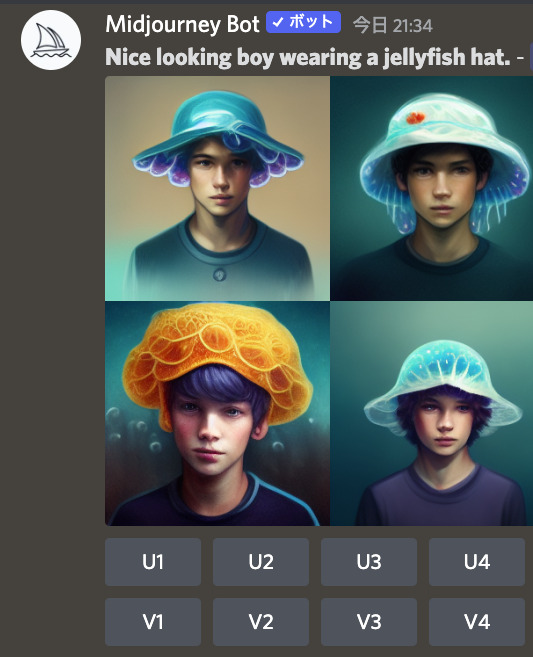
First, select one of the four images you wish to tweak.
This time, select the upper left corner.
By the way, "U" stands for "upscale. It means to convert the resolution of an image to a larger one.
V" stands for "Variations. It outputs an image similar to the original image.
Also, if you press the button that looks like the recycle symbol at the top, it will regenerate it with the exact same command.
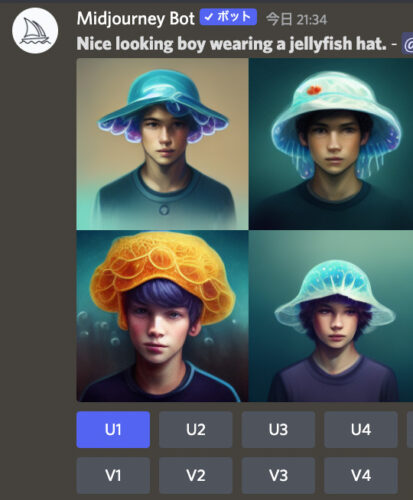
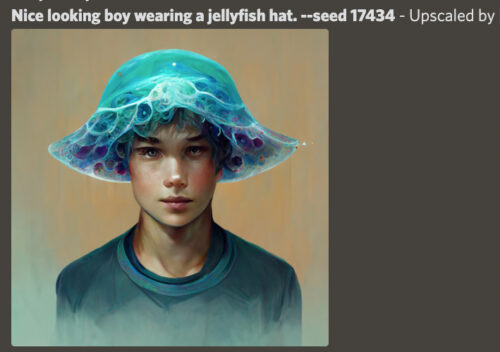
Now let's press "U1" to upscale.
Then, you will see
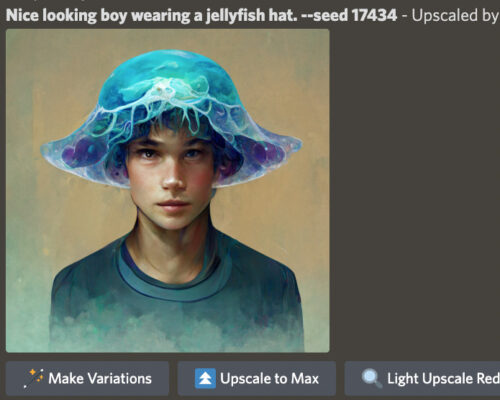
These items appear below the upscaled image.
The official name for these is "Discord Job Buttons.
Each of them will be explained below.
About Make Variations
The leftmost item under "Discord Job Buttons" is "Make Variations.
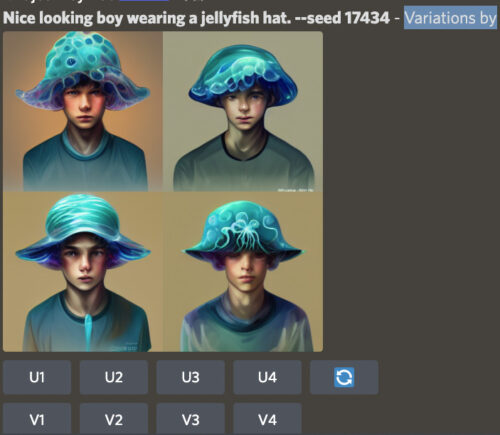
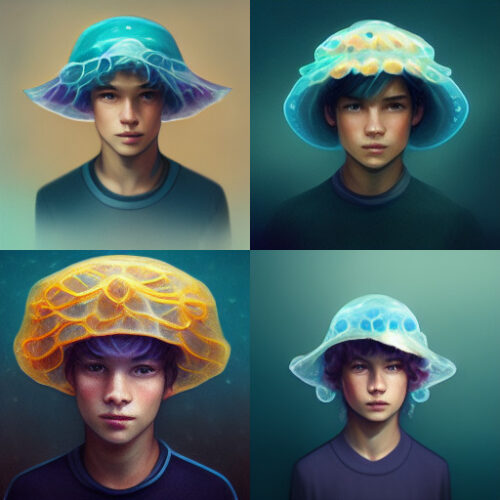
This function creates four images that closely resemble the upscaled image.
As you can see, you will get an image similar to the original image.
This is the same function as the "V" that I explained a little earlier.
In the upper right corner of the image, you will see the words "Variations by".
This means that the image was generated by the "Make Variations" and "V1-V4" buttons.
About Upscale to MAX
The second from the left in the "Discord Job Buttons" is "Upscale to MAX".
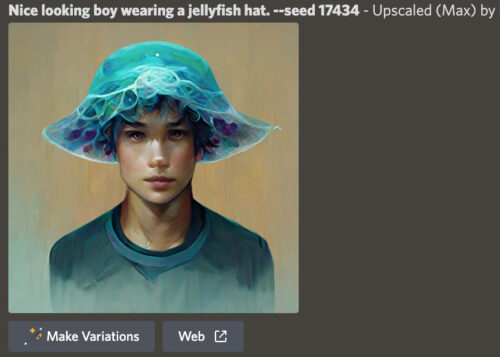
This function increases the resolution and upscales the image.
The resolution was (1024 x 1024) and has been increased to (1664 x 1664).
Check the "Upscaled(Max) by" in the upper right corner of the image. It means that the image was obtained by executing "Upscale to MAX".
This "Upscale to MAX" is recommended if you want to increase the resolution of an image while maintaining some of the original image's taste and detail.
Note that this function can only be used in "fast" mode.
↑Please note that an error will occur in relax mode.
About Light Upscale Redo
Third from the left in the Discord Job Buttons is Light Upscale Redo.
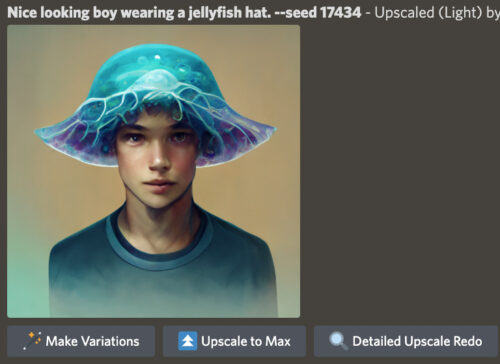
This function upscales the image to a higher resolution but with less thumbnail-like detail.
In other words, it's like upscaling with a taste similar to the original four images.
The upper left of ↑ is the original image
↓ is the image with "Light Upscale Redo".
The resolution is 16 times (1024 x 1024) that of the original image alone (1/4 of 512 x 512), but the drawing is kept at the same level as the original image.
Check the "Upscaled(Light) by" in the upper right corner of the image. It means that the image was generated by "Light Upscale Redo".
About Light Upscale Redo → Detailed Upscale Redo
In addition, when a "Light Upscale Redo" or "Beta Upscale Redo" (described below) is performed, a new "Detailed Upscale Redo" will appear in the "Discord Job Buttons".
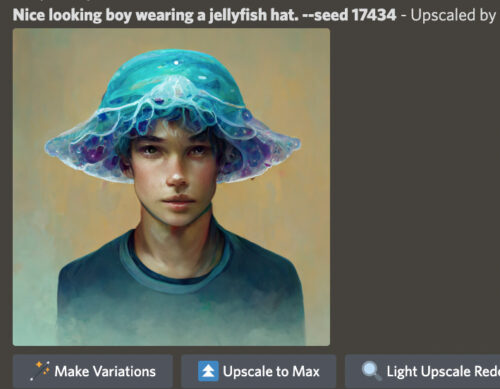
When "Detailed Upscale Redo" is pressed, the resolution remains the same (1024 x 1024), but the image is drawn more precisely again.
After "Detailed Upscale Redo".
The upper right corner of the image shows "Upscaled by". It means that the image is upscaled normally.
--About Uplight
In the parameters, adding "--uplight" will generate the same effect as "Light Upscale Redo" no matter which of the four generated images are upscaled (U1 to U4). It saves you a step.
However, since the "--uplight" parameter is always enabled, "Detailed Upscale Redo" will not be applied. It is possible to increase the resolution with "Beta Upscale Redo".
About Beta Upscale Redo
The fourth from the left in "Discord Job Buttons" is "Beta Upscale Redo.
This function allows you to output at four times the usual resolution.
The normal resolution is 1024 x 1024. The normal resolution is 1024 x 1024, but with "Beta Upscale Redo" it is 2048 x 2048.
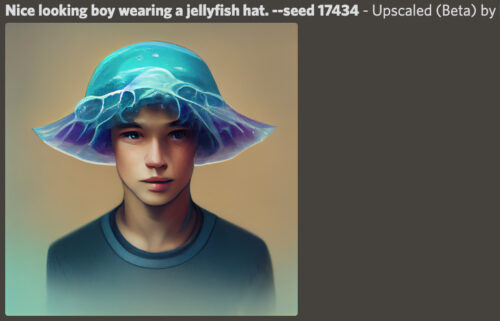
However, the resolution is only high and there is not a lot of drawing.
Check the "Upscaled(Beta) by" in the upper right corner of the image. This means that the image was output with "Beta Upscale Redo".
Beta Upscale Redo → About Detailed Upscale Redo
Like "Light Upscale Redo," "Beta Upscale Redo" also has a new "Detailed Upscale Redo" that appears in the "Discord Job Buttons" after the image is generated.
When "Detailed Upscale Redo" is pressed, the resolution is reduced to "1024 x 1024" and the image is drawn more precisely. In other words, the effect is the same as normal upscaling.
After "Detailed Upscale Redo". The resolution is restored (1024 x 1024).
In the upper right corner of the image, "Upscaled by" is still shown, which is the same as upscaling as usual.
About --upbeta
In the parameters, if "--upbeta" is added, any of the four generated images can be upscaled (U1 to U4) with the same effect as "Beta Upscale Redo". It saves you a step.
However, since the "--upbeta" parameter is always enabled, "Detailed Upscale Redo" will not take effect.
About Remaster
Fifth from the left in the "Discord Job Buttons" is "Remaster".
This function will regenerate the image with additional parameters.
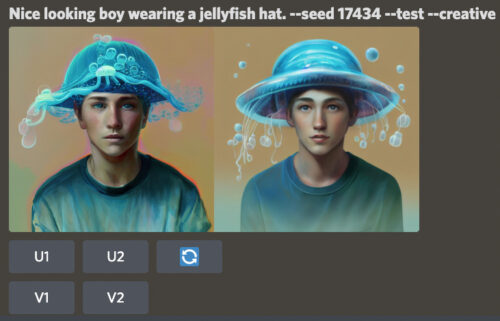
The parameters are "--test" and "--creative".
See ↓ for the effects of "--test" and "--creative".
In other words, "Remaster" = "--test --creative".
Here is the generated image.
Because of the "--test" generation, only two images are output.
And the picture has been completely changed.
You can see the parameter "--test --creative" added in the upper right corner of the image.
When you want to change the atmosphere of the original image, "Remaster" is very effective.
About Web
The sixth "Discord Job Buttons" from the left is "Web.
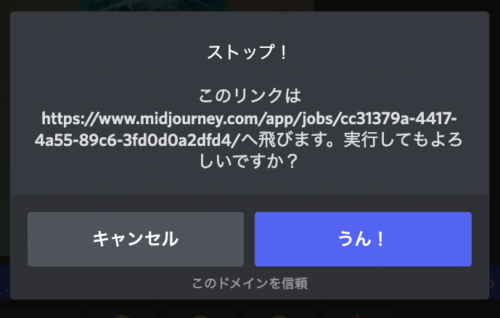
Press "Web."
You will get a warning like this, but don't worry about it and select "Yes! without worrying about it.
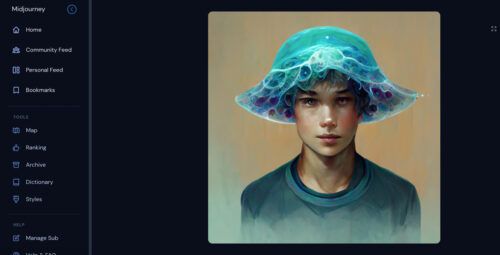
You can view the images generated by Midjourney on its official web.
For more information on techniques and other information on the official web, please click here↓.
😫😕😀😍
The last of the "Discord Job Buttons" is "Emoji".
There is a pictogram that represents a facial expression as shown in the figure above.
By using this pictogram, you can give a rating for the picture.
The higher the right, the higher the rating.
Press 😍 and you will see "You have successfully rated this job with 😍" in the message field.
You have successfully given the best rating.
If you give a rating, you will be ranked in the Midjourney web app, and if you receive many ratings from other people, you will receive products or be featured as a popular image.
For more information, please click here.
This is an explanation of "Discord Job Buttons".
Personally, I often use "Remaster" and "Upscale to MAX".
Thank you again.
Please refer to the article ↓ for techniques, etc.
ロゴ.png)









![[Remix mode] A new feature long awaited by all mankind! How to use Midjourney!](https://wowokurage.com/wp-content/uploads/tako_Nice_looking_boy._Hyper_quality__smile__sunset_2c9343c3-4012-48a2-8861-60b13224a747-1-375x375.jpg)