ロゴ.png)
A new feature we've been waiting for has just been updated!
It is the "Remix mode".
This is a divine feature that allows you to freely add and modify prompts and parameters even after the job has been generated.
We will explain how to use it below.

Open Settings
First, type /settings in the message field and press enter.
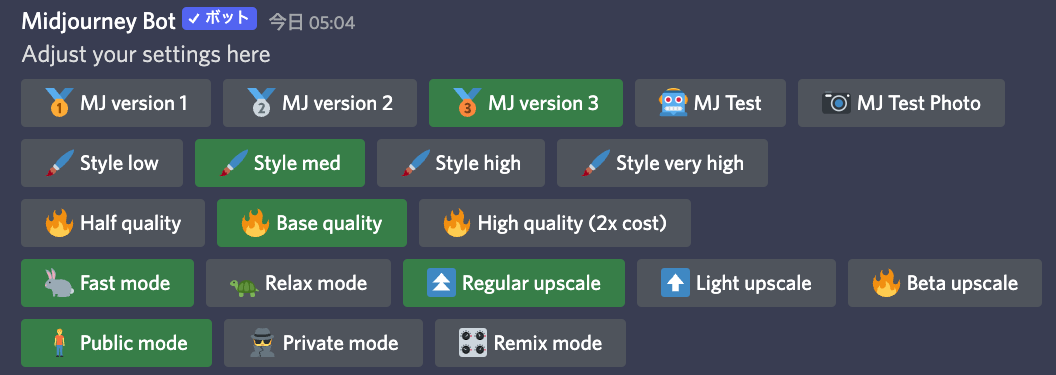
Then you will see many items as shown above.
In the lower right corner is "Remix mode".

Let's click on that.

"Remix mode" will turn green. This indicates that "Remix mode" is functioning.
Alternatively, type "/prefer remix" in the message field and press the Enter key to enter "Remix mode".
If you want to cancel "Remix mode", just press "Remix mode" again.

"Remix mode" will turn gray again. The "Remix mode" is now canceled.
Alternatively, type "/prefer remix" in the message field and press the Enter key to cancel "Remix mode".

Let's use 「Remix mode」.
Turn on "Remix mode" in settings, and let's get started.
You can use this mode for images generated from now on, or you can use it for images from the past.

This time, let's use this job I had created before the update.
The command is "Nice looking boy wearing a jellyfish hat. Hyper quality manga"
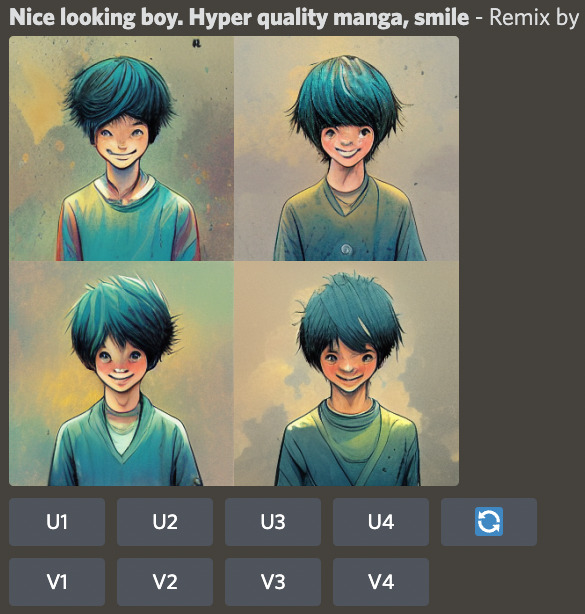
I want to apply "Remix mode" to the lower right picture in this image.
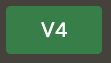
Let's press "V4".
Then, if you look at the ...
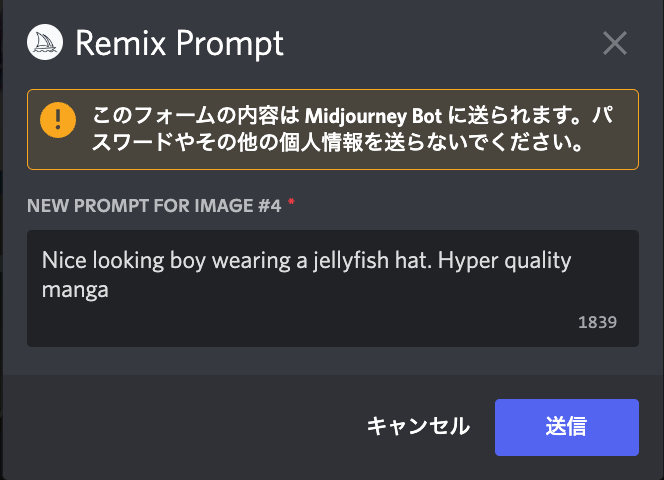
You will see a screen like this.
The commands for this job are filled in. You can modify or add to it as you like.
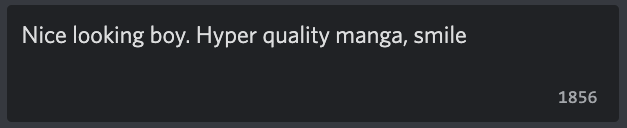
As a test, let's add "smile" to "Nice looking boy wearing a jellyfish hat. Hyper quality manga".

「Nice looking boy wearing a jellyfish hat. Hyper quality manga, smile
Now press "Submit".

You can see that everyone is smiling while retaining the atmosphere of the original image.
If you see "Remix by" in the upper right corner of the image, it means that this job was created in "Remix mode".
Now let's use "Remix mode" for the lower left picture in this image.
Press "V3".
I took the plunge and erased WEARING A JELLYFISH HAT.
In other words, the instruction is to remove the jellyfish hat.
I successfully removed the hat. That's great.
Now, let's use "Remix mode" for the upper left picture.
Press "V1".
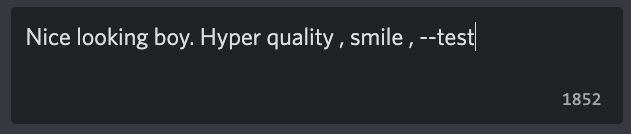
Delete --manga and add --test.

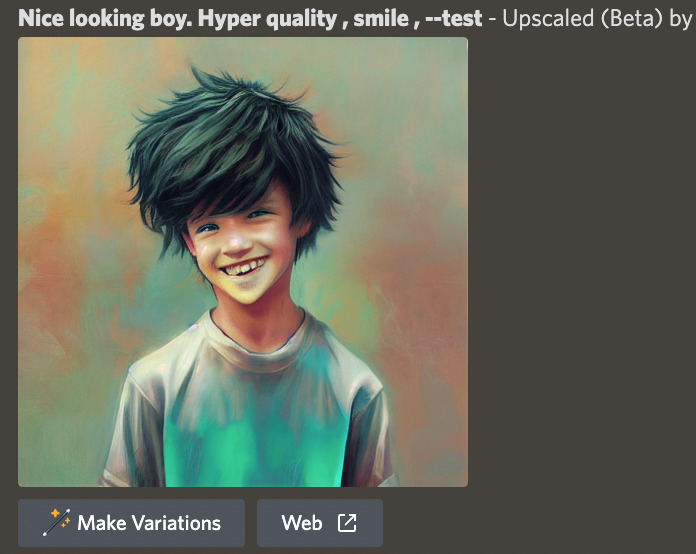
It went like this. It means that we can deal with the parameters to some extent.
Let's upscale the upper right picture in this image.
Let's press "U2."
"Remix mode" can be used normally for upscaled images.
"Remix mode" can be used in "Make Variations".
Let's try "Make Variations".
After all, the text will be displayed, so feel free to tweak it.

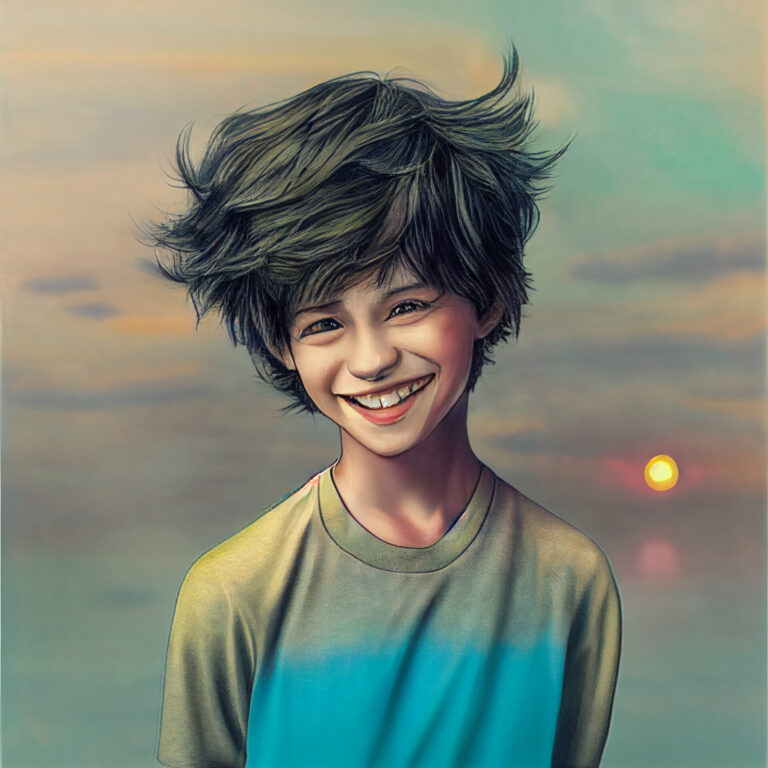
I added sunset.
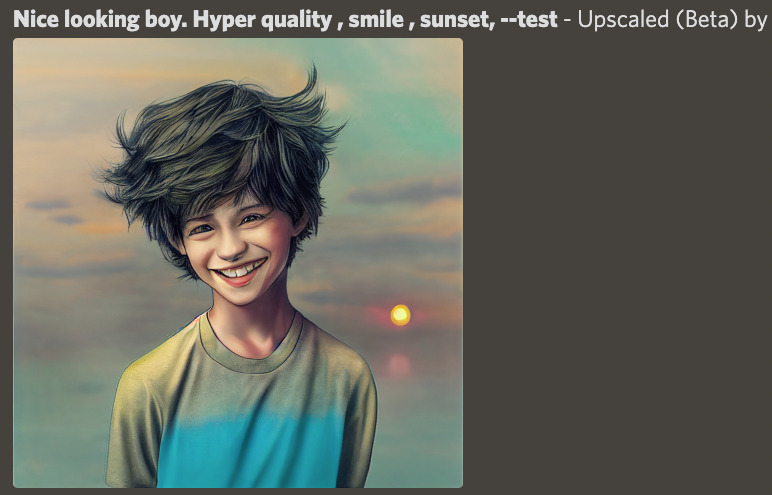
The sunset is also depicted, while still retaining the boy's face in the original image. What a great feature...!
However, if the aspect ratio is changed later, it will fail.

Let's add --ar 16:9. It means to set the aspect ratio to 16 horizontal and 9 vertical.
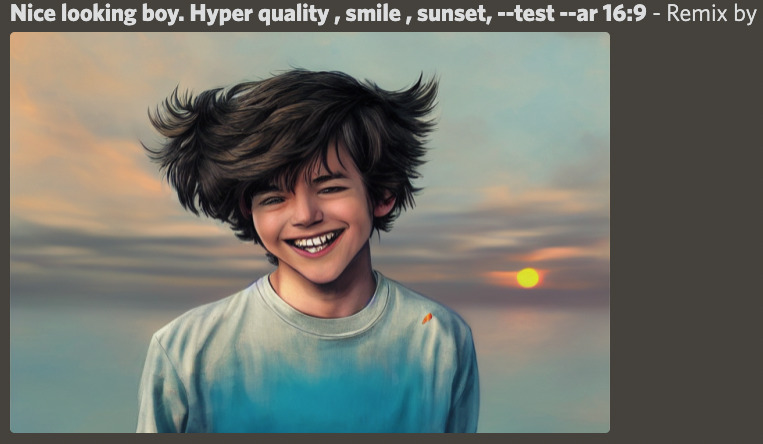
Please note that the image will look like it has been stretched to the side forcibly like this.
It is recommended not to change the aspect ratio from the initial state (for example, if --ar 16:9 is included in the original image, it will not fail if you do not change it).
So, that was the explanation of the new "Remix mode," a long-awaited feature for all mankind. Please use it if you like!
Please refer to the article ↓ for techniques, etc.


