ロゴ.png)
If you put "/" in the message field of Midjourney, you will see a list of various commands such as /imagine.
However, I thought that few people have used all the commands in that list, so Janikurage actually used them and would like to describe their effects and impressions.
There may be some features that are less obvious but surprisingly useful.
At the moment there are 17 different commands, and I will explain all of them.

- 1 How to use /imagine
- 2 /subscribe Usage
- 3 How to use /fast
- 4 How to use /relax
- 5 /private Usage
- 6 /public Usage
- 7 How to use /prefer option set
- 8 How to use /prefer option list
- 9 /prefer suffix usage
- 10 How to use /prefer remix
- 11 How to use /settings
- 12 How to use /show
- 13 /prefer auto dm usage
- 14 How to use /info
- 15 How to use /ask
- 16 How to use /help
- 17 How to use /invite

How to use /imagine
The most commonly used command is /imagine.

/imagine prompt followed by the text of the image you want to generate.
The text is called Prompt and Parameters.

As shown in the image above, there are two types of prompts: Image Prompt and Text Prompt.
An Image Prompt is an image address. A picture influenced by that image is generated.
Text Prompts are words, sentences, etc. A picture is generated according to its content and meaning.
The "Parameters" must be located at the end of the message field.
The order of the image and text prompts can go back and forth, but the parameters are always last.
The way to recognize a parameter is whether it is marked with a "--" or not. If there is a "--", it is a parameter.
There are parameters that have various effects, such as changing the aspect ratio (--ar) or stopping the image in the middle of generation (--stop).
For more information on parameters, please click here.
These text prompts and parameters are freely selected and combined to generate images.
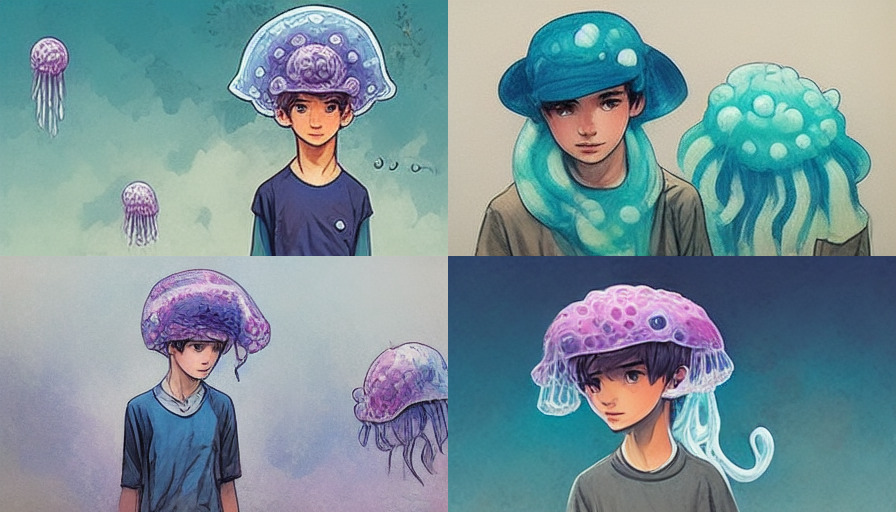
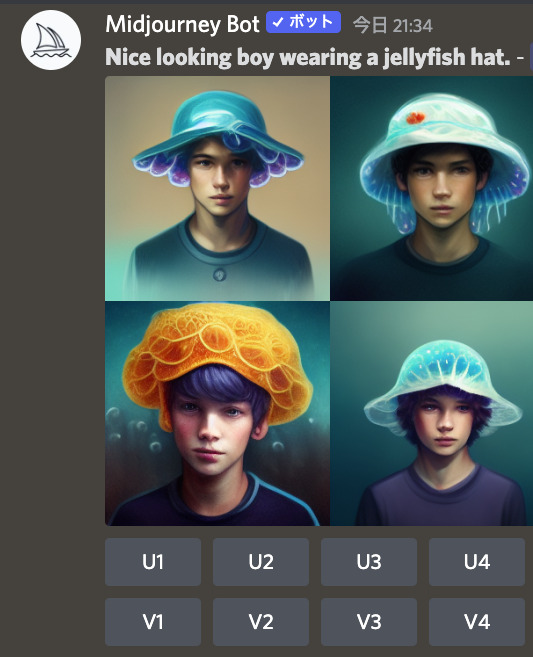
The prompt and parameters for the image above are "Nice looking boy wearing a jellyfish hat. Hyper quality manga --ar 16:9".
The image prompt is omitted.
In fact, it is possible to omit the parameters as well, or even generate the image with only the image prompt (but not the parameters). Let's experiment with various options.
Image Generation Tips
The following are some tips for text content when generating images.
(1) Avoid negative words
Basically, it is better not to include negative words such as "not," "but," "except," and "not".
The more you use them, the more emphasis will be placed on them rather than on them.
For example, let's put "not octopus".
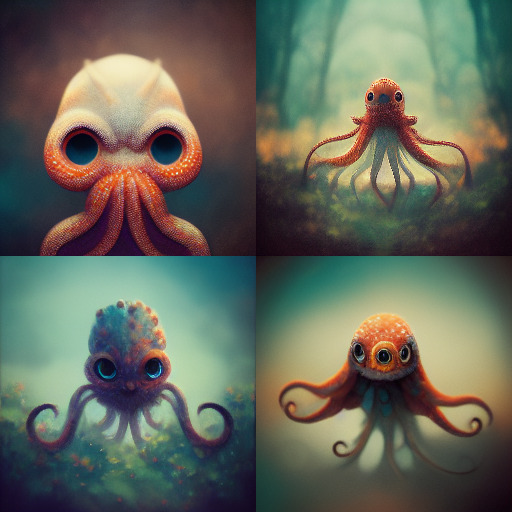
「It's not an octopus.」
However, the octopus is the main focus. Negatives tend to be ignored.
If you do not want the octopus to appear, use "::" or "--no".
As a general rule, you can clearly write only what you want drawn, as is, in writing.
(2) Don't make it too complicated.
Too many things you want drawn and too much text will not describe it well. Keep it simple and clear.
The key to Midjourney is to understand AI's habits and know how to moderate the amount of sentences.
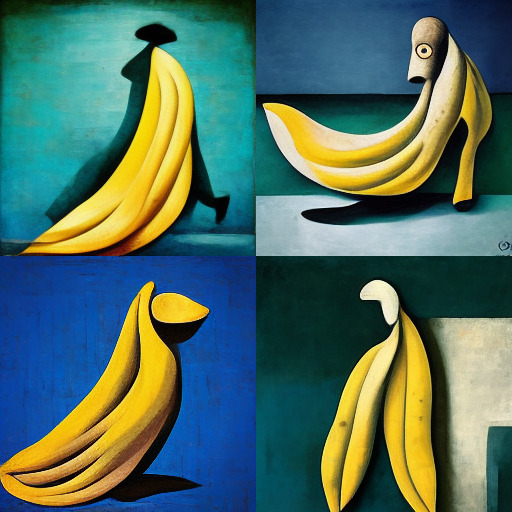
「Picasso was walking and fell down when he saw a banana at his feet. The banana was a banana sold only in Japanese supermarkets.」
What is difficult even for a human to depict in a single picture can never be done by today's AI. Let's reduce the level considerably and input the text simply.
(3) Use singular nouns and specific numbers.
Ambiguous plural words can confuse the AI; is it two people or ten?
Specify the number clearly.
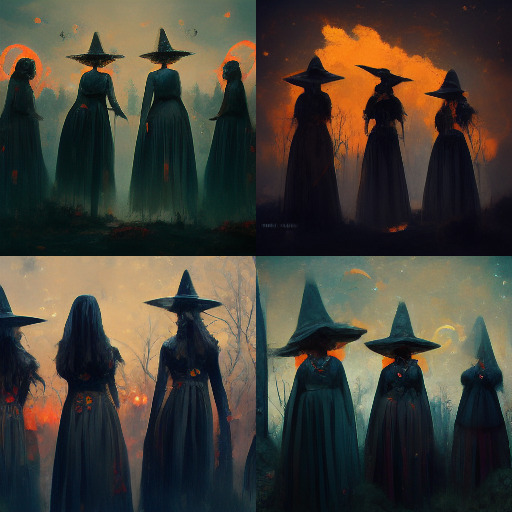
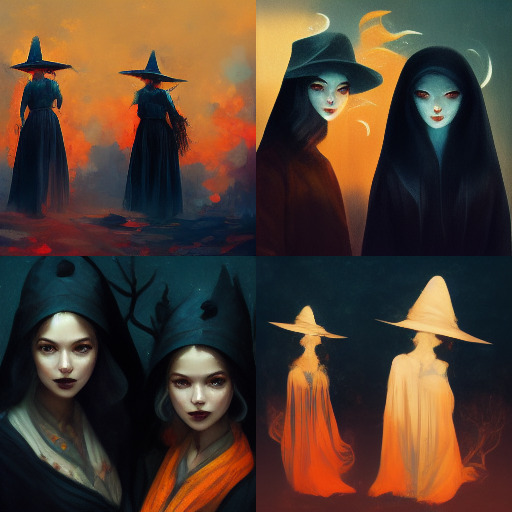
If you specify a number, it is often the case.
(4) Use text from images that are widely available on the Internet.
AI is good at using text for objects that are commonly spread and well known.
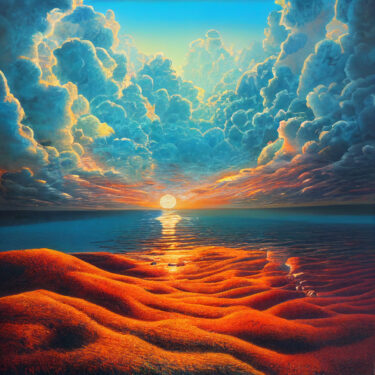
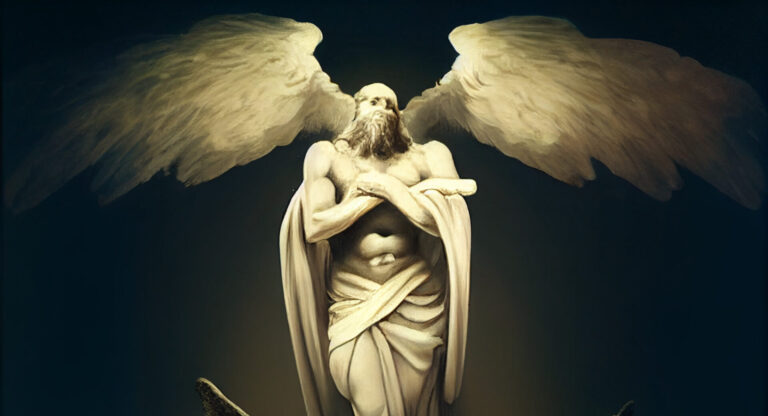
Wizards, priests, angels, emperors, necromancers, rock stars, cities, queens, Zeus, houses, temples, farms, cars, landscapes, mountains, rivers, and many more.
Themes with strong emotional or mystical overtones also work well.
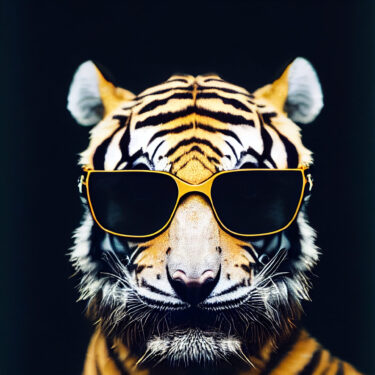
(5) Combine the two concepts in a way that no one has ever seen before.
Example "Cyberpunk Goddess Psychedelic Astronaut Crew Temple of Stars Queen of Time Necromancer Capitalist" It is easy to create interesting images with tricky combinations.

/imagine Trivia
As a tidbit when creating prompts, you can use the
- Upper and lower case letters do not affect image generation. Both uppercase and lowercase letters have the same effect.
- The maximum length of a prompt is 6,000 characters, but it is practical to keep it within 60 characters.
- Use "::" to clearly delimit prompts. Use ",", ".", " -", or a space. or space is also acceptable, but "::" seems to be more reliable (needs to be verified).
Example: "Nice looking boy wearing a jellyfish hat :: Hyper quality :: manga" - If you do not specify the artist, painting method, etc., it is easy to generate a realistic picture.
- The fourth job will wait in a queue, and will be automatically generated when the "Your job will start shortly You have reached the maximum allowed number of concurrent jobs, Don't worry, this job will start as soon as another one finishes!" Up to 10 jobs can be started and reserved. This is true not only in fast mode, but also in relax mode.

/subscribe Usage
You can increase the number of functions you can use by paying a fee.
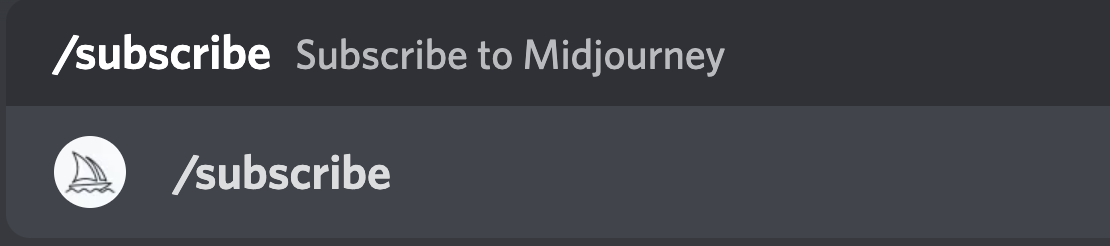
In the message field, type /subscribe and press enter.

MidJourneybot will post the link and you can click on it.
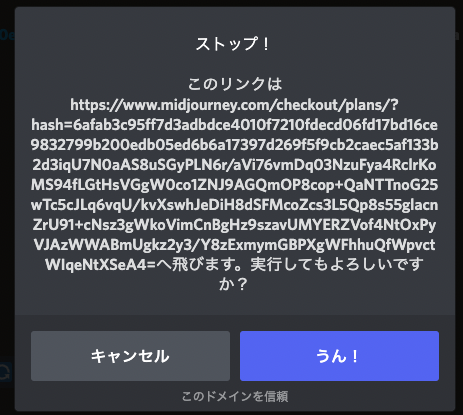
You will see some mysterious string of characters, but "Yes! Select "Yes!
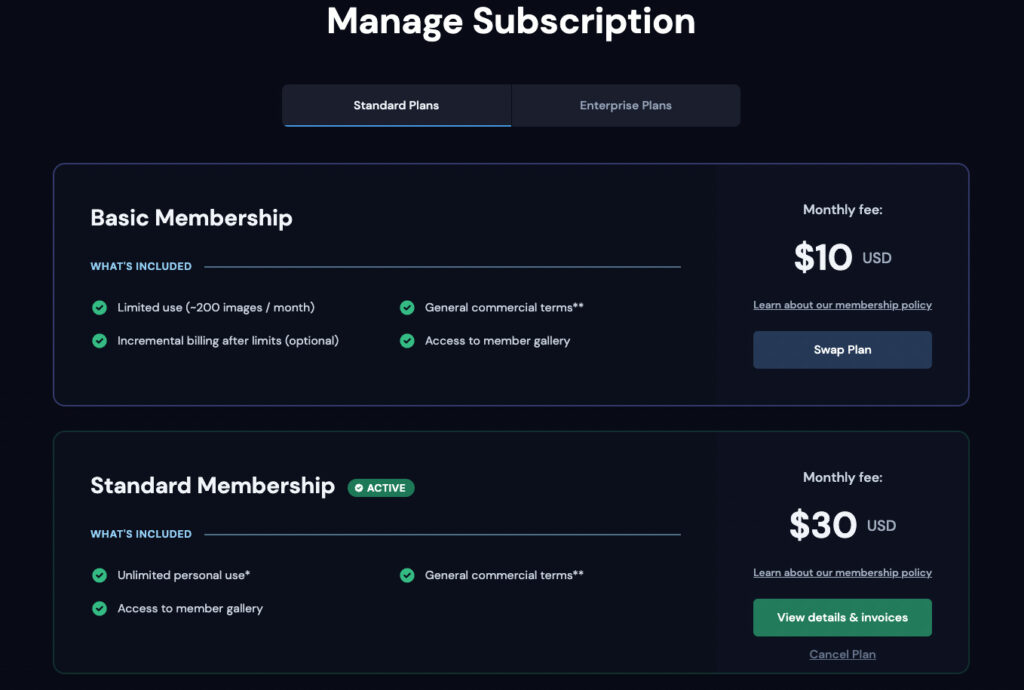
There are 3 subs plans available.
Payments are in dollars, so a weak yen can hurt! Be careful.
Currently only debit and credit cards are supported.
PayPal, wire transfers, and similar methods are not currently supported.
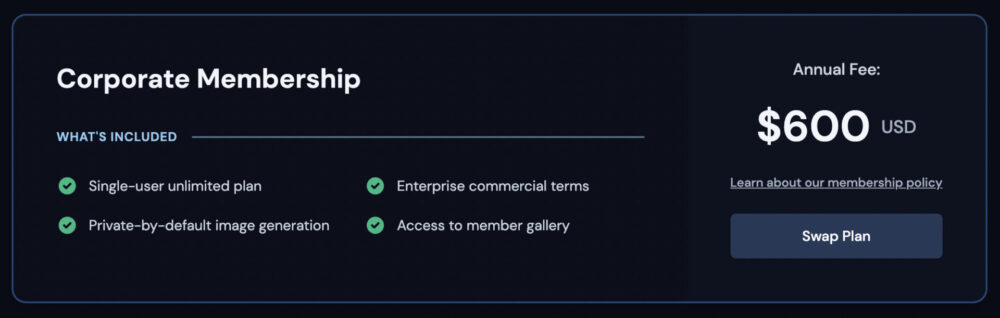
If you are already a subscriber like Janikurage, you will see buttons for "Swap Plan" = "Change Contract" and "View details & invoices".
If you are a non-subscriber, you will see a button that says "Subscribe". You can click on that button to complete the subscribe process.
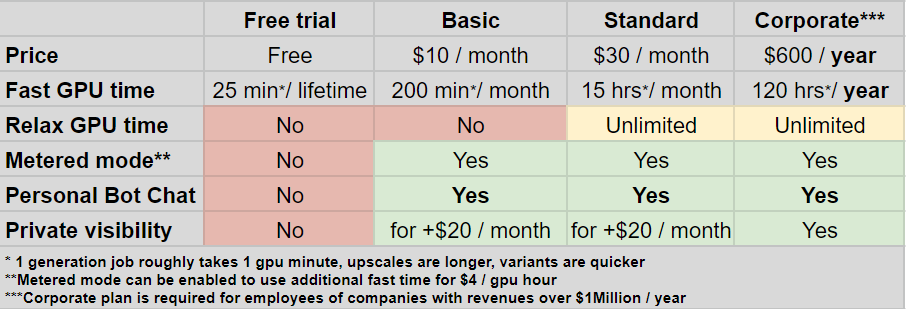
Features of each plan.
The following services are provided to all Basic and Standard plan subscribers.
- You can send DMs (direct messages) to MidJourney Bot (with the free plan you can only receive them). In other words, you can generate images via DM, which is easy to use. (I think this is the specification, but I was able to generate an image by sending a DM to MidJourney Bot with an unpaid sub-account, so this needs to be verified. (I think this is the specification, but I was able to send a DM to the MidJourney Bot with an unpaid sub-account and generate an image.)
- You can purchase private mode by using the /private command in Discord and adding $20/month. Images created in private mode become private and cannot be seen by other users. They will remain private even after you cancel Private Mode.
- If you run out of fast mode, you can purchase "fast mode" at any time for $4 per 60 minutes (at /fast in the message field). You will need to set a "spending limit" at that time. Once the spending limit is reached, MidJourney will stop working and ask you to set a new limit before continuing. You will only be charged for the actual time spent. For example, if you set a $20 spending limit but only used $17.32 GPU minutes, you will only be charged $17.32. You can use /info to see the number of minutes used in fast mode and their cost (in USD).
- Your Discord profile will display the new "Basic Member" or "Member" role, giving you access to all channels of the community.
- Access to the midjourney.com community feed and gallery.
- Monthly subscriptions will automatically renew after 30 days.
- Commercial use available.
For information on what happens if you subscribe and then cancel your subscription, please click here ↓.
How to cancel with Midjourney. What happens if I cancel immediately after subscribing?
How to use /fast
Next, we will discuss the use of /fast.
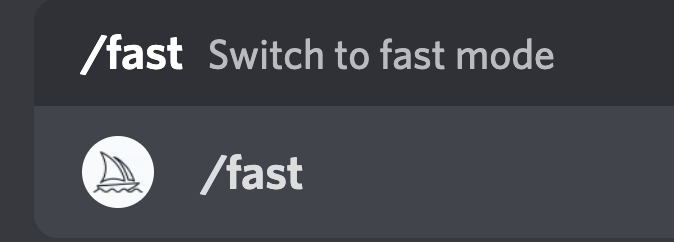
/fast is pressed.

will be displayed.
FAST mode is a common feature that is also used by non-payers. It has a fast image generation time and can also perform "Upscale to Max," a function that further upscales an image after it has been upscaled.
However, fast mode is only available for 25 minutes for unpaid users, 200 minutes/month for Basic plans, and 900 minutes/month for Standard plans.
With the Standard plan, if you run out of fast mode, it will automatically switch to relax mode. This makes it difficult to perform "Upscale to Max" because you will not be able to use the fast mode without paying more.
You can freely switch to relax mode before the fast mode is used up in the Standard plan.
The following titles explain how to do this.
How to use /relax
/relax is a feature available only to subscribers to the Standard or Corporate plans.
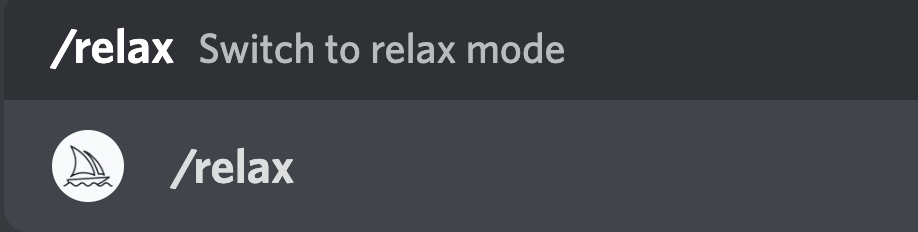
The relax mode is a function that is paired with the fast mode.
In relax mode, images can continue to be generated without limitation without reducing the usage time in fast mode.

Press /relax to see this.
When generating images in relax mode, the generation time is somewhat slower. However, it is possible to generate images without consuming the time limit of the fast mode.
Click here for actual use of relax mode.
You can then switch to fast mode at any time by typing /fast and pressing enter.
You can go back and forth between /relax and /fast as many times as you like.
/private Usage
If, for various reasons, you do not want others to see the images you create or their prompts (DMs with bots are actually public), consider using the /private mode.
Note, however, that you will need to pay $20/month.
Also, in order to run private mode, you must first subscribe to the Basic or Standard plan.
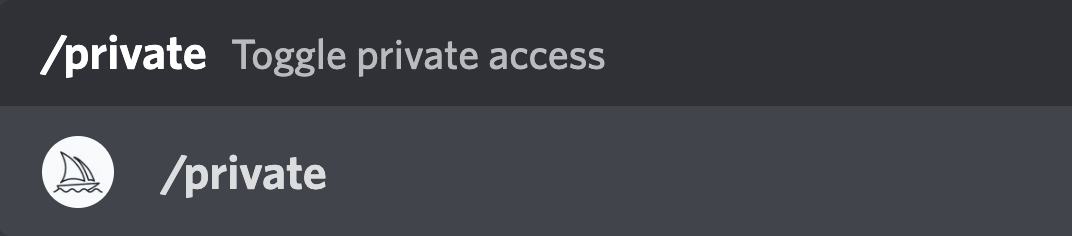
Type /private in the message field and press enter.
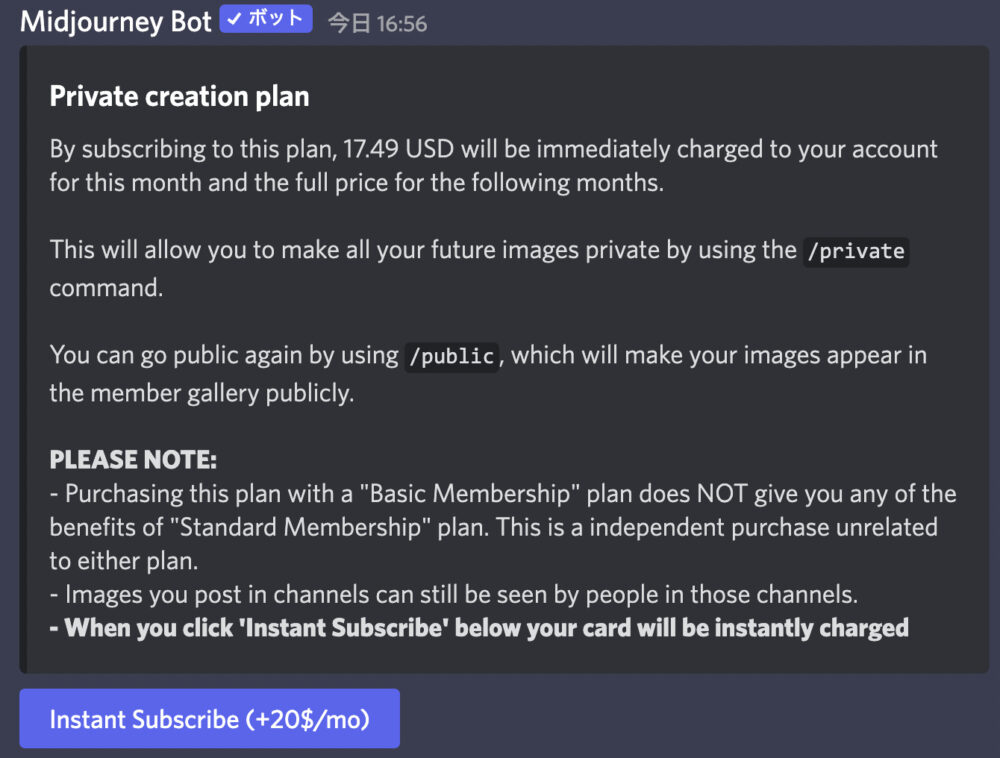
Then, you will immediately receive a message like this.
To summarize the above message and the information in the manuals, etc.
- Private plans appear to be billed on a pro-rated basis.
- Images created in Private mode will be made private, but earlier images will not be made private.
- Private images in the website gallery will be hidden from other users and will remain private even after you discontinue private mode.
- Even in private mode, you are still subject to the PG-13 rules.
- While paying for private mode, you may also choose to make your gallery images public or private by turning on or off a button in the shape of 👁 If you do not see them, you will need to log out of the website and then log in again.
- If you create an image in private mode, it will be marked (Private) in the same position as (fast) or (Relaxed).
- You can also make it public by using the /public command.
- When you post to a channel, its participants can see it; use it when DMing with a bot, for example.
- Please note that the Instant Subscribe button will result in an immediate purchase.
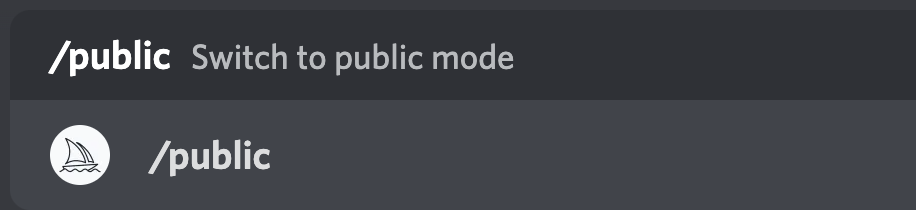
/public Usage
The function paired with /private is /public.
See one title above for Private Mode.
Public mode is used to cancel private mode. In other words, it makes images, etc. public as usual.
All images generated outside of private mode are public (even DMs with bots are public), and private mode is the only condition under which they can be made private to the world.
The only condition that can be made private to the world is in Private mode, and Public mode is when you can remove it and return to normal/public mode.
If you want to go back to private mode, just type /private and hit enter.
/public and press enter.

"Private Generation disabled!"
is displayed.
Please be assured that this message is displayed even if you are not subscribed to private mode and are always in public mode.
How to use /prefer option set
This is an explanation of /prefer option set, one of the most commonly used features by people who seem to be advanced users.
This is the ability to abbreviate prompts and parameters into your own text.
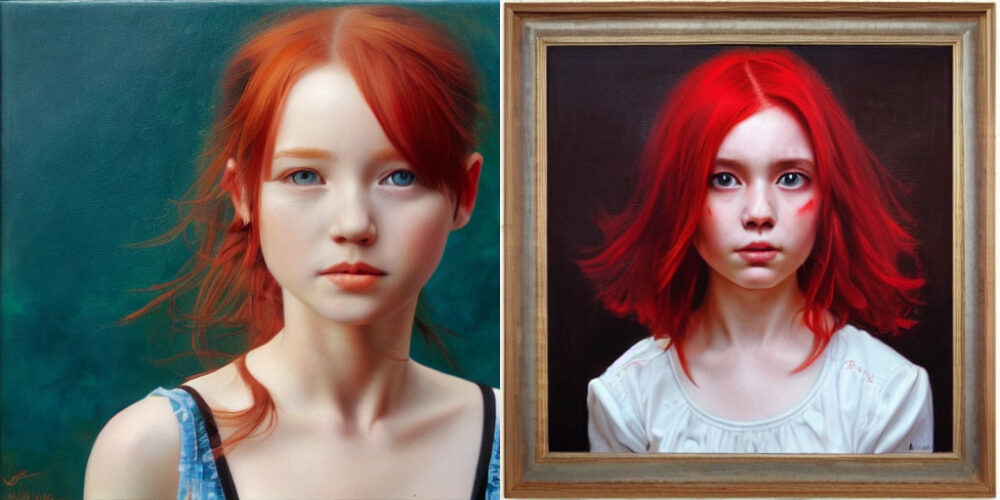
For example, you might use a series of prompts and parameters such as "Red hair, oil painting, --test" for a while.
for example, it can be tedious to type a series of prompts and parameters over and over again if you are going to be using them for a while.
So, it would be convenient to combine them into one word.
You can do that with /prefer option set.
First, type /prefer option set.

Followed by option, enter your own favorite word.
In this case, enter "red".

And don't press enter here.
Press → on the keyboard.
Then, press
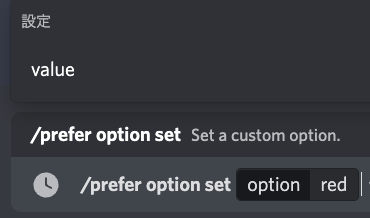
You will see value at the top.
Press ↑ or ↓ on the keyboard to select value and press enter.

It looks like this
Enter the text following the value.
In this case, it was "Red hair, oil painting, --test".

When you have finished typing, press the Enter key.

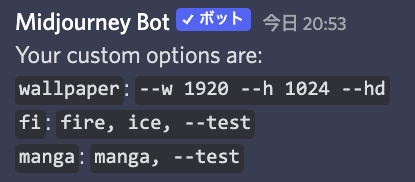
Custom option red set to Red hair, oil painting, --test !
message will be sent to you immediately.
Now you have your own parameter called
--red, which is your own parameter.
The contents of --red are "Red hair, oil painting, --test".
Now, let's use --red.

the girl --red
The girl --red omits the red part of "the girl Red hair, oil painting, --test".
"The girl Red hair, oil painting, --test" is omitted by --red.
Generate command「the girl --red」
This is a recommended feature because it makes your work more efficient.
Also, if you want to erase the original parameters you have registered, type /prefer option set and press
Enter the text of the parameter you want to erase.
Let's erase --red this time.

Type option followed by red and press enter twice.
Then, if you look at the ...

Custom option red removed!
The original parameters of --red are now erased. The original parameters of --red will now be deleted.
How to use /prefer option list
The /prefer option list function is used to check the list of original parameters registered with the /prefer option set described earlier.
Type /prefer option list and press

Press the Enter key.
You will then receive the original parameters currently registered and their contents.
No erased parameters are listed.
Check this to remind you of any parameters you may have forgotten.
/prefer suffix usage
If you want to enter the same prompts and parameters in the second half of the text for a while, consider /prefer suffix.
The text registered with /prefer suffix will continue to be reflected in subsequent /imagine.
Usage.
First, type /prefer suffix.

Now, you can always start typing the text you want to insert.
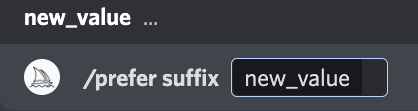
The text "new value" will appear, followed by the text to be entered.

fire ice --ar 16:9 --test
and type.
Now press enter.

You will receive a message.
Suffix is now fire ice --ar 16:9 --test
This means that "fire ice --ar 16:9 --test" will be automatically added every time you generate images from now on.
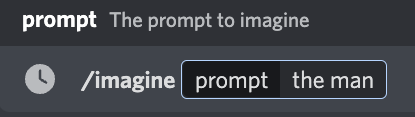
To try it out, let's just enter "the man" and press enter to generate the image.
Then, the image will be generated as follows

the man fire ice --ar 16:9 --test
The image was generated as "fire ice --ar 16:9 --test".
From this point on, every time an image is generated with text, "fire ice --ar 16:9 --test" will be added to the image.
The way to remove it is simple.

You can also just type /prefer suffix and press enter only.

Suffix is now removed.
is displayed, it will be released.
After that, you can do your job as usual without "fire ice --ar 16:9 --test" being added.
How to use /prefer remix
A recommended function to use when you want to modify an image after it has been generated by tweaking prompts and parameters is /prefer remix.
First, type /prefer remix and press
Press the Enter key.

If you receive a message like this, "Remix mode" is turned on.
If you want to turn it off, simply type /prefer remix again and press enter.

This will turn off "Remix mode".
"Remix mode" is an excellent feature. Please refer to the following page for a detailed explanation.
[Remix mode] A new feature long awaited by all mankind! How to use Midjourney!
How to use /settings
If you want to set all major parameters and various modes at once, use /settings.
First, type /settings.

Now press the enter key.

You will see many items like this.
The button in green is the item that is currently being set.
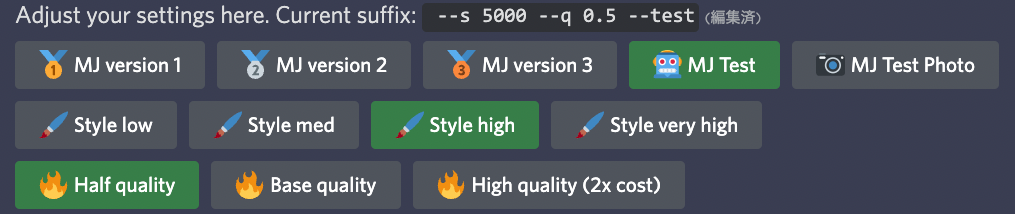
Click on each item to apply it and turn it green.
Then, "--s 5000 --q 0.5 --test" at the top of the above image is the parameter of the currently selected item.
*If you want to eliminate the display of parameters, in the example above, press "MJ version 3, Style med, Base quality" twice each. Then the parameter display will disappear.
Now, the default settings at this time are
MJ version 3(--V 3) , Style med(--s 2500) , Base quality(--q 1) , fast mode , Regular upscale , public mode
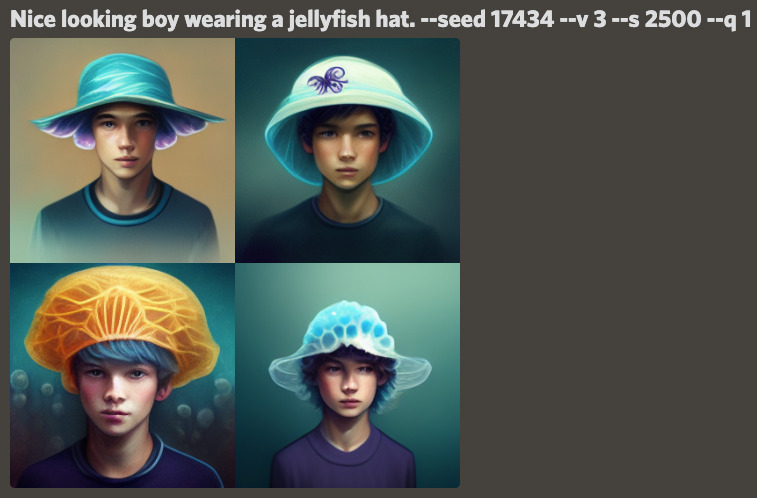
This is the image created with the default settings.
command「Nice looking boy wearing a jellyfish hat. --seed 17434 --v 3 --s 2500 --q 1」
Let's match the seed values to the image above and take a quick look at each button, comparing them to each other.
About Version
The top line of settings allows you to set the version of Midjourney. From left to right, you will get the latest version.

The parameters are, from left to right, "--V 1 , --V 2 , --V 3 , --test , --testp".
Let's create an image from the older version.
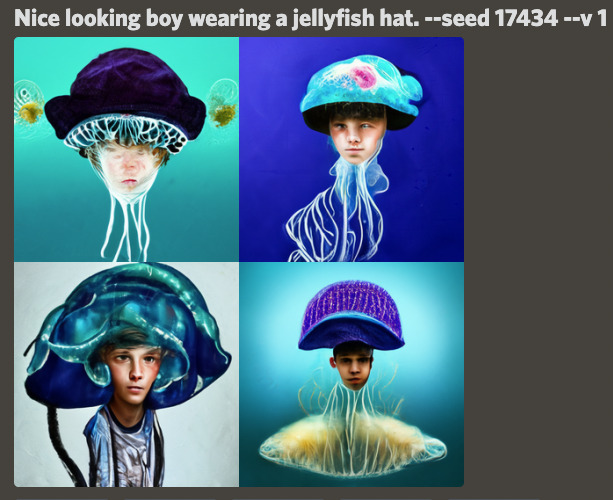
Created by MJ version 1 (--v 1). It's all very weird.
Created in MJ version 2 (--v 2), which is eerily reminiscent of Version 3.
In fact, a user feedback loop has been built in since Version 3. It takes data on what kind of images users prefer and how they use them, which seems to have contributed to the dramatic improvement in image quality since V3.
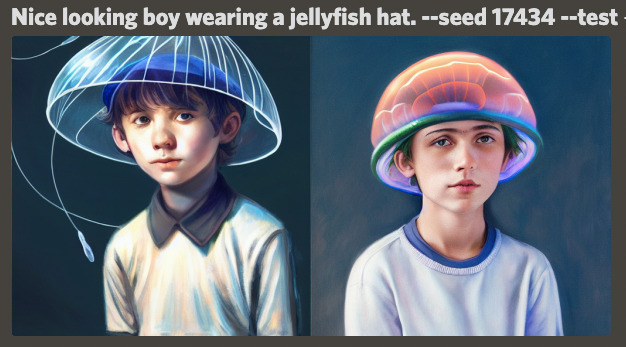
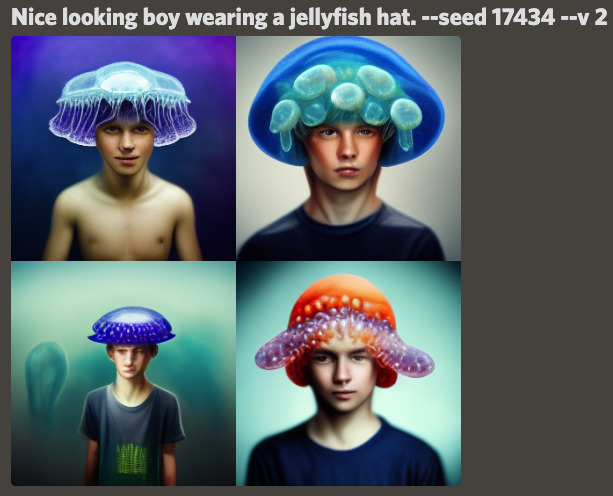
Created by MJ Test (--test), this is a Beta version for Version 4, which seems to be even better quality than V3.

Created by MJ Test Photo (--testp), Beta version for Version 4. It is a realistic picture.
About Stylize
The second line from the top is stylize. The parameter is "--stylize" or "--s".

The lower this number is, the more faithful to the prompt the image will be generated. Conversely, the higher the value, the more artistic the mid-journey idea is involved.
The further left to right you go in this row, the higher the stylization value.

Created with Style low (--s 1250). The expression is somewhat stiff.

Created by Style med (--s 2500). Default value.
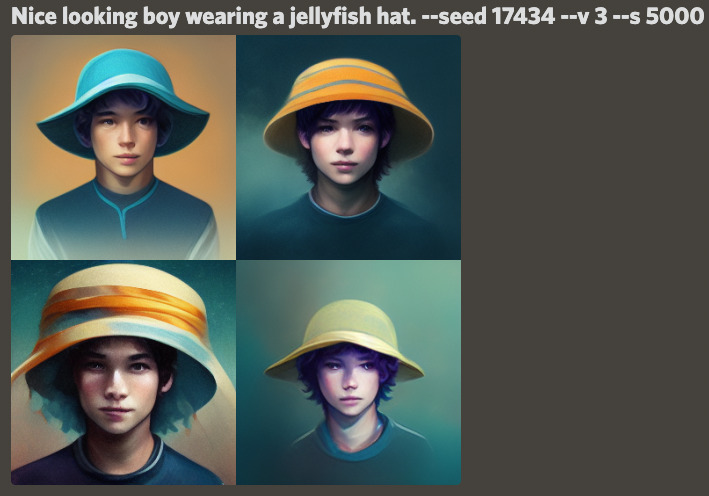
Created in Style high (--s 5000), the Midjourney play is getting stronger and the jellyfish-shaped hats are almost gone.
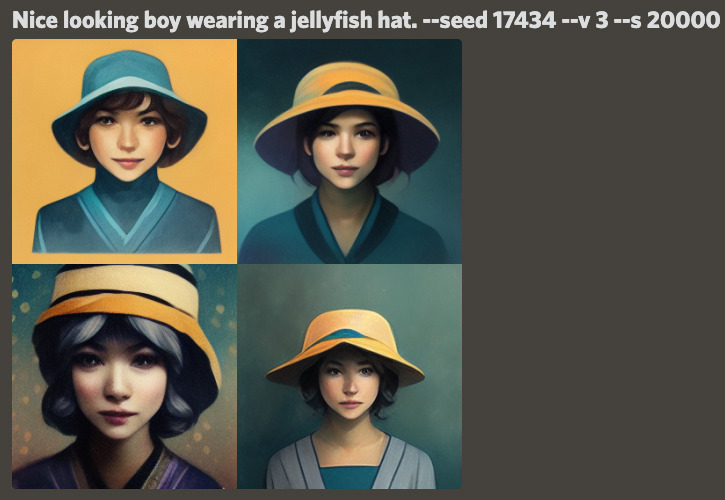
Created with Style very high (--s 20000). The fidelity of the prompt is pretty much gone. He is now a woman rather than a boy, and his jellyfish-shaped hat has completely disappeared.
For more information about Stylize and other parlameters, etc., please click here ↓↓.
About Quality
The third line from the top is about quality. The parameter is "--q" or "--quality".

As you go from left to right, the quality increases, but it takes more time to generate the image.
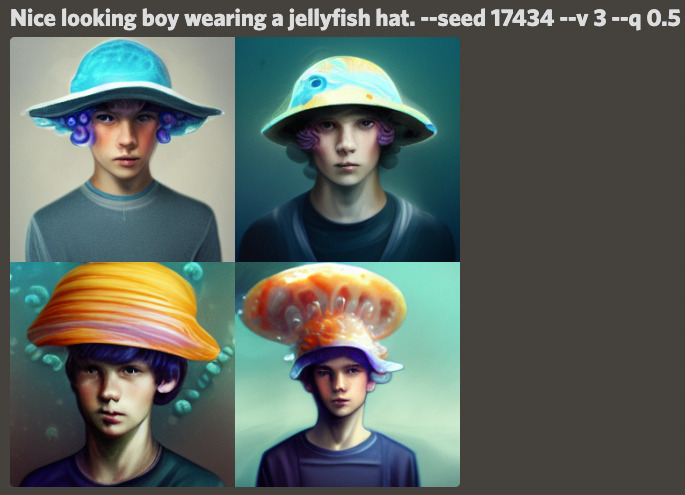
Created with Half quality (--q 0.5). Half the default time can be used to create an image, but the quality of the drawing will be reduced.
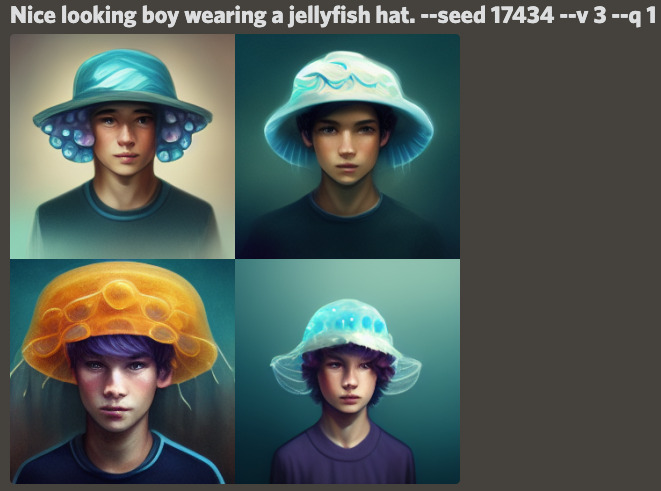
Created with Base quality (--q 1). Default value.
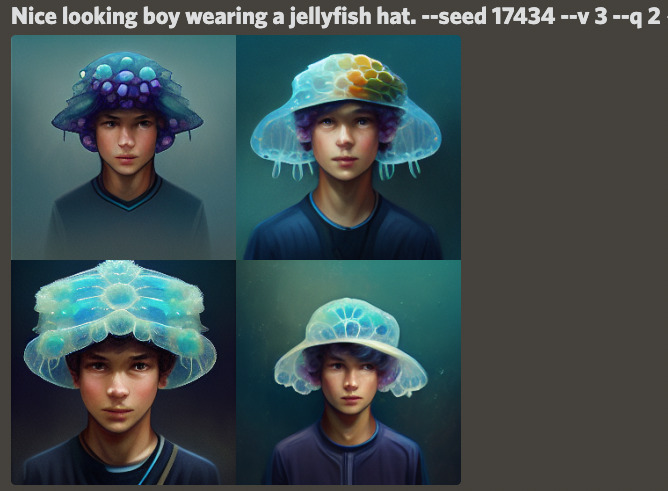
Created with High quality(2x cost)(--q 2). The quality of the drawing, etc. is higher, but the image creation time is twice as long as the default.
For more information about quality, etc., please click here.
About Fast mode, Relax mode, and Upscale
The fourth line from the top is for Fast mode, Relax mode, and upscale.

Fast mode and Relax mode are described in this article, so please refer to that article.
Let's look at upscaling.
Regular upscale is performed as usual by pressing the "U1-U4" buttons after the image is generated.
Light upscale is --uplight as a parameter. Any of the four generated images can be upscaled (U1 to U4) with the same effect as "Light Upscale Redo". "Light Upscale Redo" means that the resolution is increased, but with less thumbnail-like detail.
Beta upscale is --upbeta in parameters. Any of the four generated images can be upscaled (U1 to U4) to produce the same effect as "Beta Upscale Redo". "Beta Upscale Redo" is a feature that allows output at 4 times the usual resolution, but with less detail quality.
For more information on these features, please click here.
About Public, Private, and Remix Modes
The bottom row shows public mode, private mode, and remix mode.

Public and private modes and remix mode are described in this article.
For more information on remix mode, please click here.
[Remix mode] A new feature long awaited by all mankind! How to use Midjourney!
How to use /show
Use /show to redisplay a previously created job at the most recent position on the channel of your choice.
Type /show in the message field.

Insert the job ID followed by "job id".
The job ID is an identification code for each job (images created with /imagine).
To check the job ID of each job, follow the instructions below.
React to the image you created and press the envelope mark (the envelope mark is in the object category).
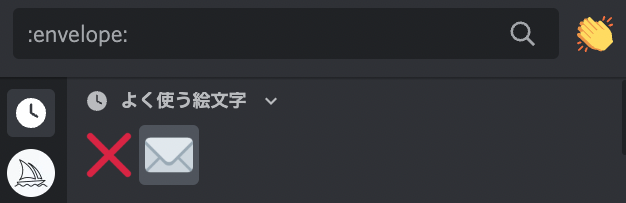
Then, you will receive an image like ↓ in your DM for confirmation.

Job IDs are listed there.
Job ID「aa7d892d-085a-4a1b-b164-ee603d85f316」
I will copy this.

Then, paste the Job ID you have just copied into the "job id" field.
Then press the enter key.
The generated image will then appear at the bottom of the channel or DM.
However, entering someone else's Job ID will result in an error. This only applies to images created by you.
/prefer auto dm usage
If you want to check the Job ID for each image generated, or if you want to send one image at a time, use /prefer auto dm.
First, type /prefer auto dm and press

Press the Enter key.

You will then receive a message "Auto-DM is now enabled."
The message "Auto-DM is now enabled.
This means that Auto-DM is now enabled.
From this point on, DM will be sent every time an image is generated.

It looks like this.
You can check the Job ID instantly, and since each image is separate, you can save them individually (resolution is low).
(For some reason the seed is set to None, but you can check the seed by clicking the reaction button -> send envelope emoji)
If you want to stop this function, just type /prefer auto dm again and press enter.

Auto-DM is now disabled.
You will no longer receive a DM each time an image is generated.
How to use /info
There is a function that lets you know when you started subscribing, or how much time you have left in FAST mode, or how many hours you have spent so far in image generation.
Type /info and press
It can be easily confirmed by pressing the enter key.

Information on Janicula.
From top to bottom.
- Subsc. updated Oct. 7, 2022.
- Job mode is fast mode.
- The time remaining in fast mode is about 13.5 hours.
- Public (public mode). Not private mode.
- The total number of images generated for this account is 4661, and the total generation time is about 72 hours.
- The number of images generated in Relax mode is 3388. Total generation time is approximately 55 hours.
- Meter usage. That is, the amount of usage with additional billing after the fast mode time limit expires. 0 images, 0 hours.
- Queued Jobs. That is, jobs that are reserved for image generation. 0pcs.
- Running jobs. That is, jobs that are currently generating images. None.
It is a good idea to take a look at this at least once, as you will learn a lot about yourself.
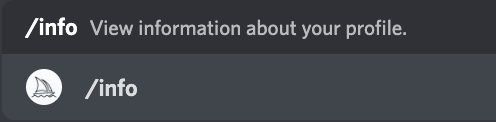
How to use /ask
I type / and at the top of the list is the most incomprehensible /ask.

The manual doesn't seem to mention it, so I decided to give it a try anyway.

I was kind of scared, so I just typed "aaa".
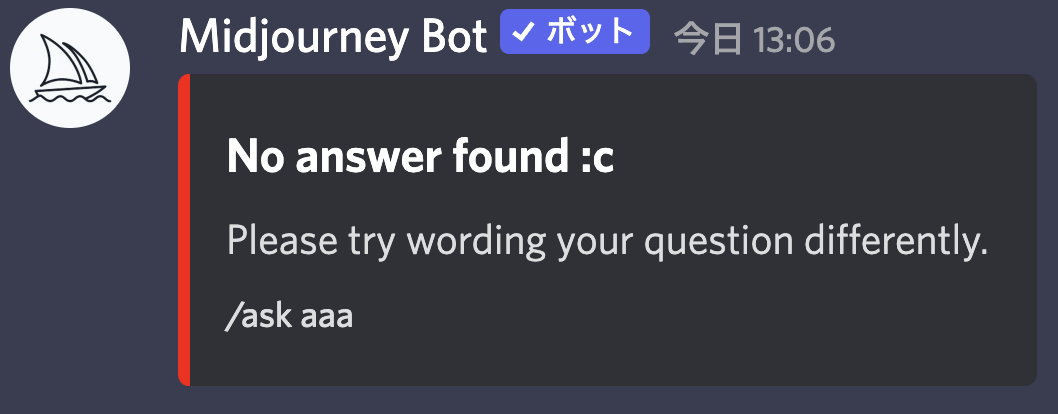
It was played in an instant.
It seems you have to ask the right questions.
I gathered my courage and asked the question.

What is ask? I asked.
I received an immediate response.
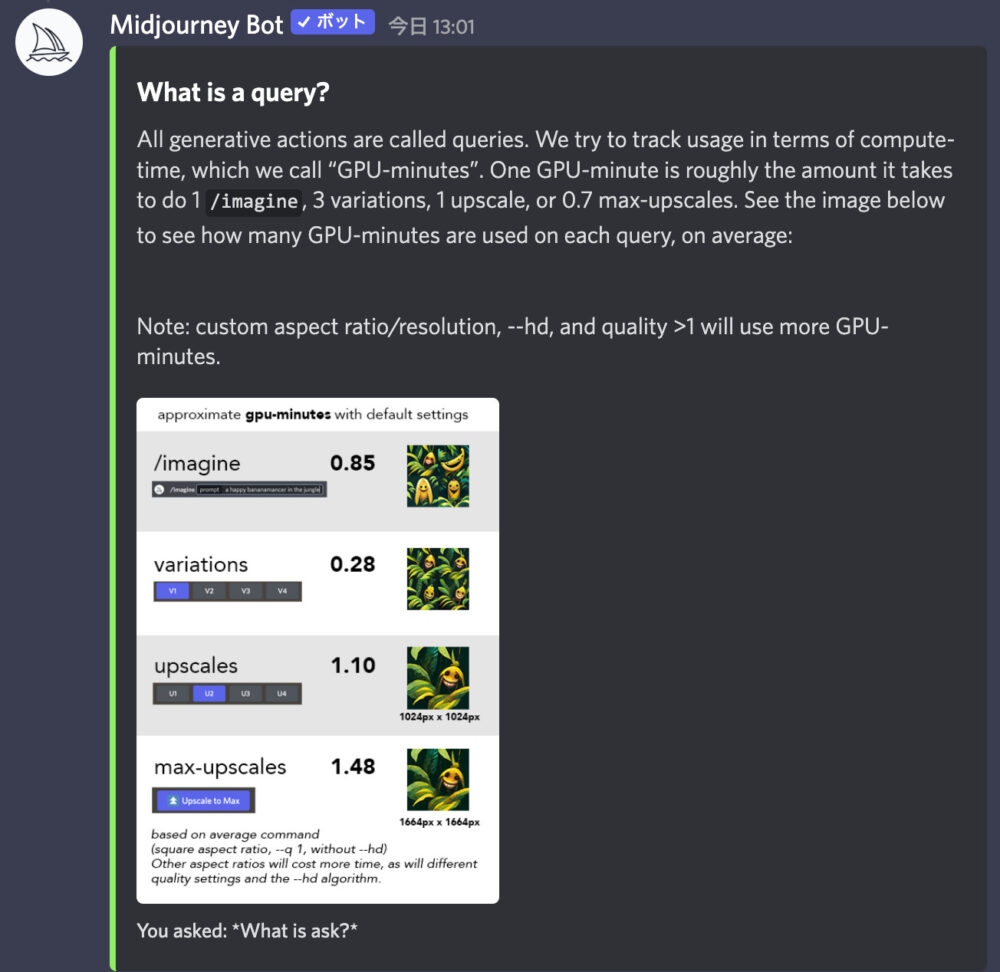
It appears that they are replying with AI.
"What is a query?" It seems to be thought that the question is "What is a query?" Since "query = question," it is not wrong to use ask = query.
He was very polite about the query.
So, /ask was a function where AI answers your question.
You will get an immediate response, so if you have any questions, you might want to ask it.
How to use /help
Use /help to supplement your knowledge.
Type /help and press
Press the Enter key.
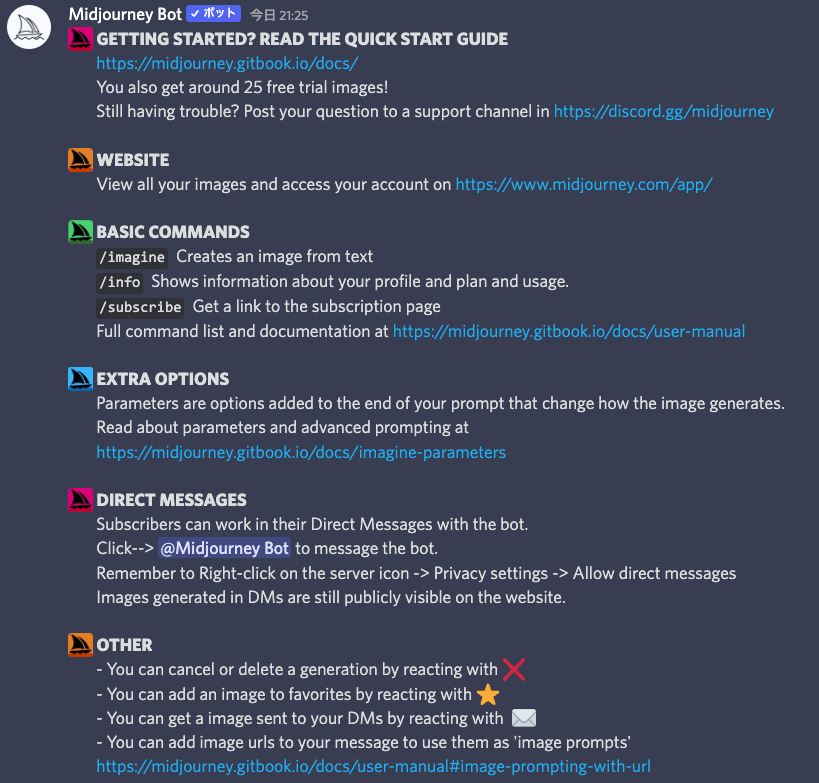
You will receive a long message.
You can jump to the user manual or other information from the link, so be sure to gather information.
Basically, this blog covers most of what is written in the help section.
How to use /invite
If you want to invite someone to Midjourney, use /invite.
Invite" means "invite.
First, type /invite.
Press the Enter key.

The invitation link will be generated as follows.
Send this link to your discord friends.

I have created a subaccount for Janikurage, so let's send it there.
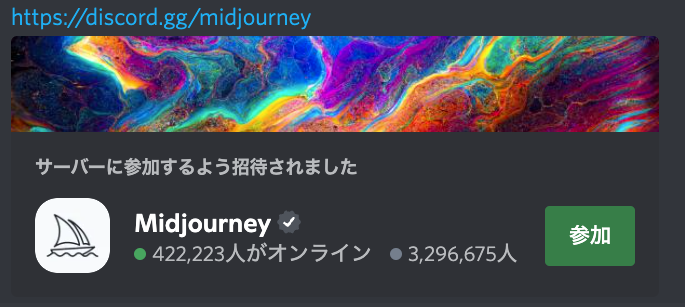
Sub-account holders received this message.
You can join the Midjourney discord by pressing "Join" on the right side of the image.
That's all.
Other than /imagine, I haven't used much of Janikurage, but I found a variety of other commands that were interesting to use. I would like to try again as soon as the new commands are installed.