ロゴ.png)
If Midjourney generates a large number of images, it will become difficult to manage them.
To avoid this, subdivide images by category and manage them. I think your work efficiency will increase dramatically.
So this time, I would like to introduce a method of working by dividing images into categories.
We will not use any external tools, but will use the functions provided by Discord, so you can put it into practice right away.

Add a server
First, let's add a server.
The method is simple.
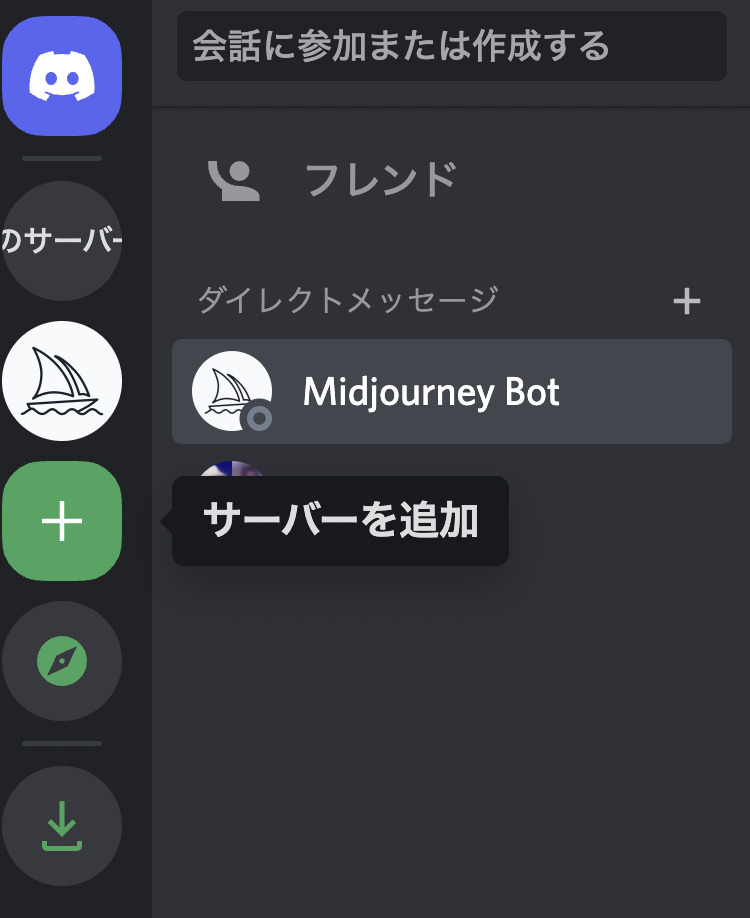
Press the "+" button (add server) on the left end of Ddicord.
You will then see
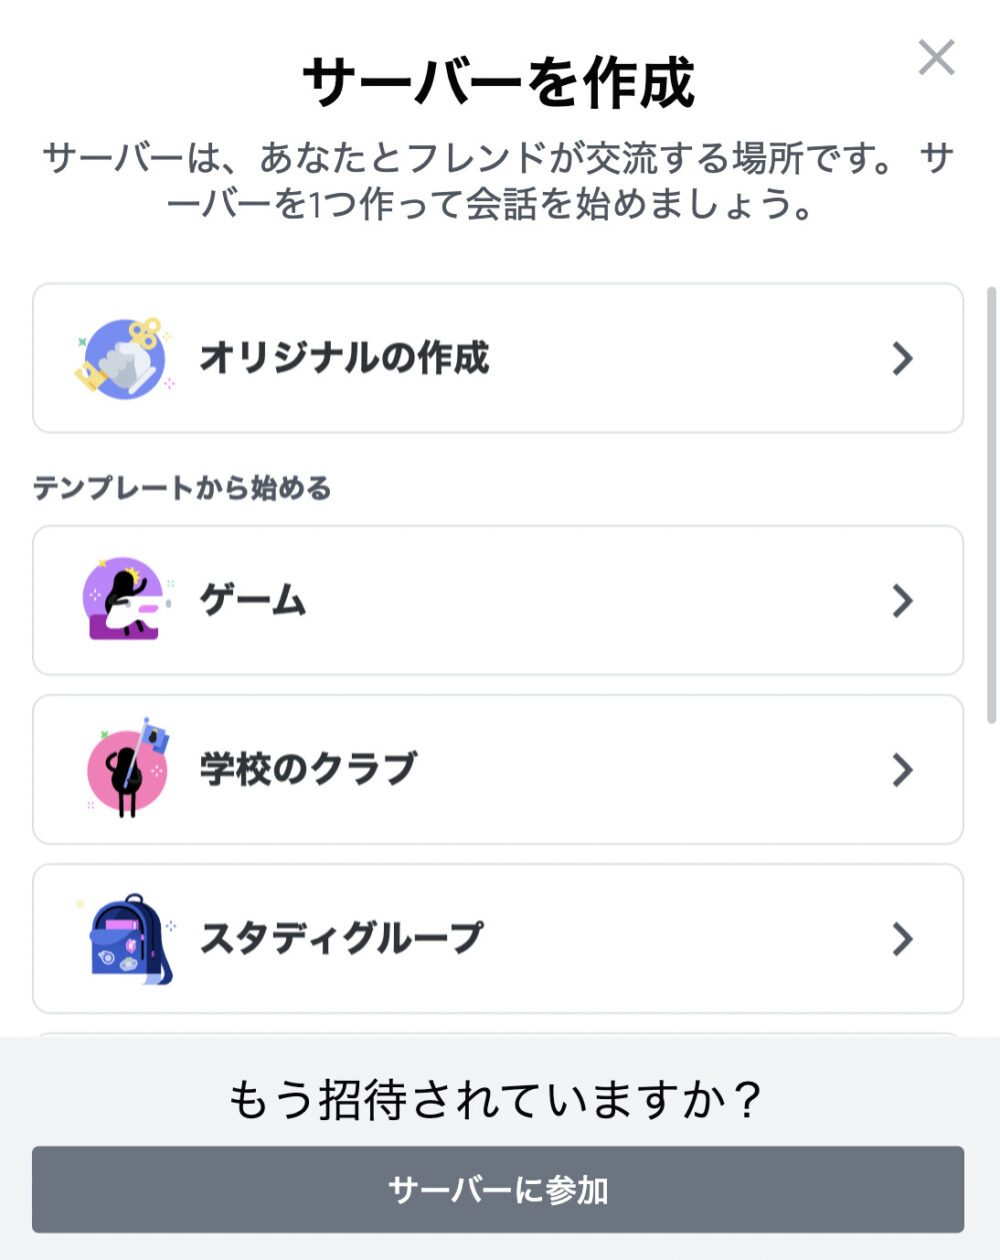
You will see "Create Server."
Choose "Create Original" at the top.
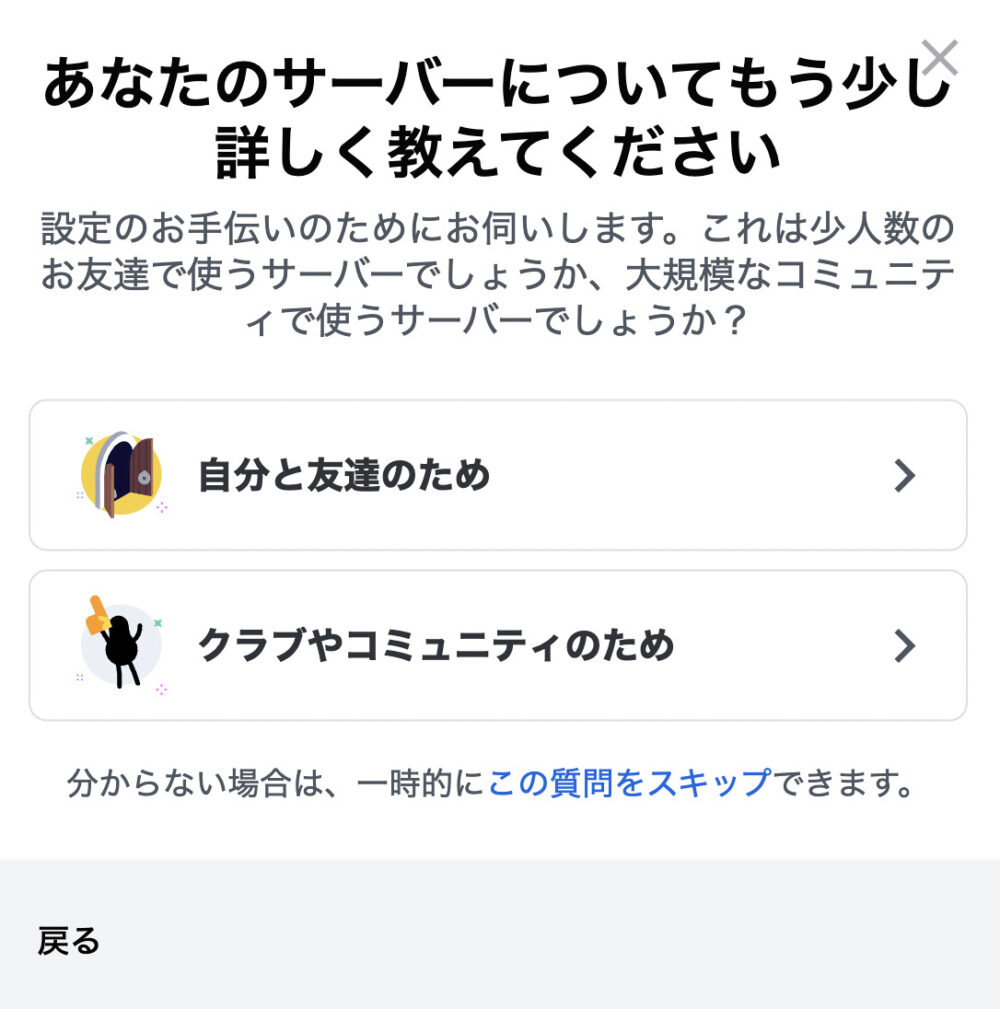
On the next screen, also at the top, select "For you and your friends".
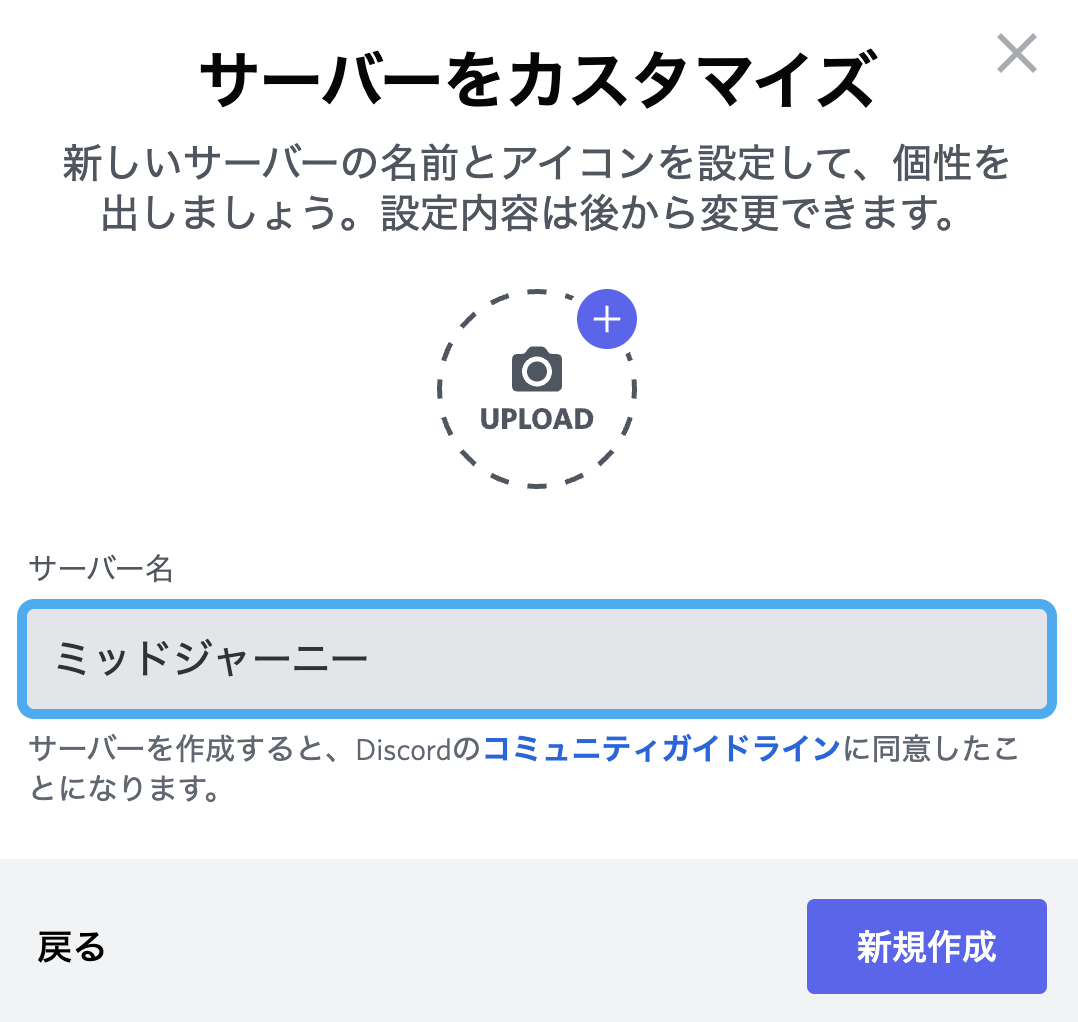
On this screen you can enter a "Server Name".
In this case, we have chosen "Mid Journey". Please enter any name you like.
When you have finished entering the name, press "Create New" in the lower right corner.
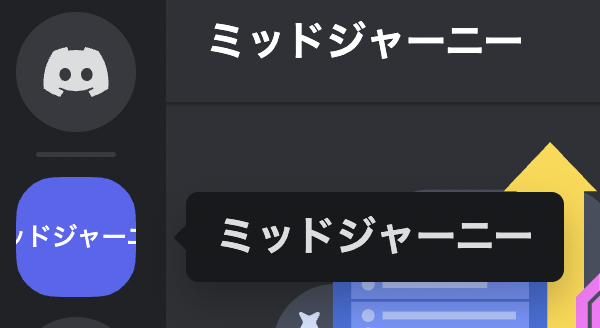
This successfully added a new server of its own.

Add Midjourney Bot
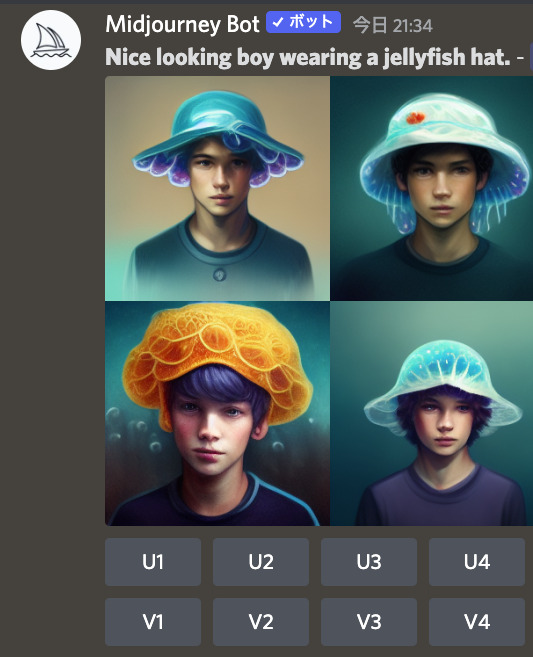
The message field of the added server does not allow image generation as usual.
I tried putting a "/" in the "/" field.

I don't see any candidates such as "/imagine" at all.
This is because there is no Midjourney Bot on this server.
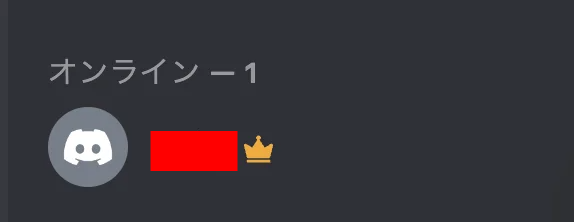
If you look at the upper right corner of the Ddicord, you will see that it is "Online-1" and that there are only janitic jellyfish.
So, let's call up the Midjourney Bot.

Click on "Direct Message" in the upper left corner.
You will see the notation "Midjourney Bot" on the screen.
Click on it.

You will then see a screen like this, and press the blue "Add to Server" button.
When you get to this screen, select "Select Server".

Click on "Mid Journey" that you have just created.

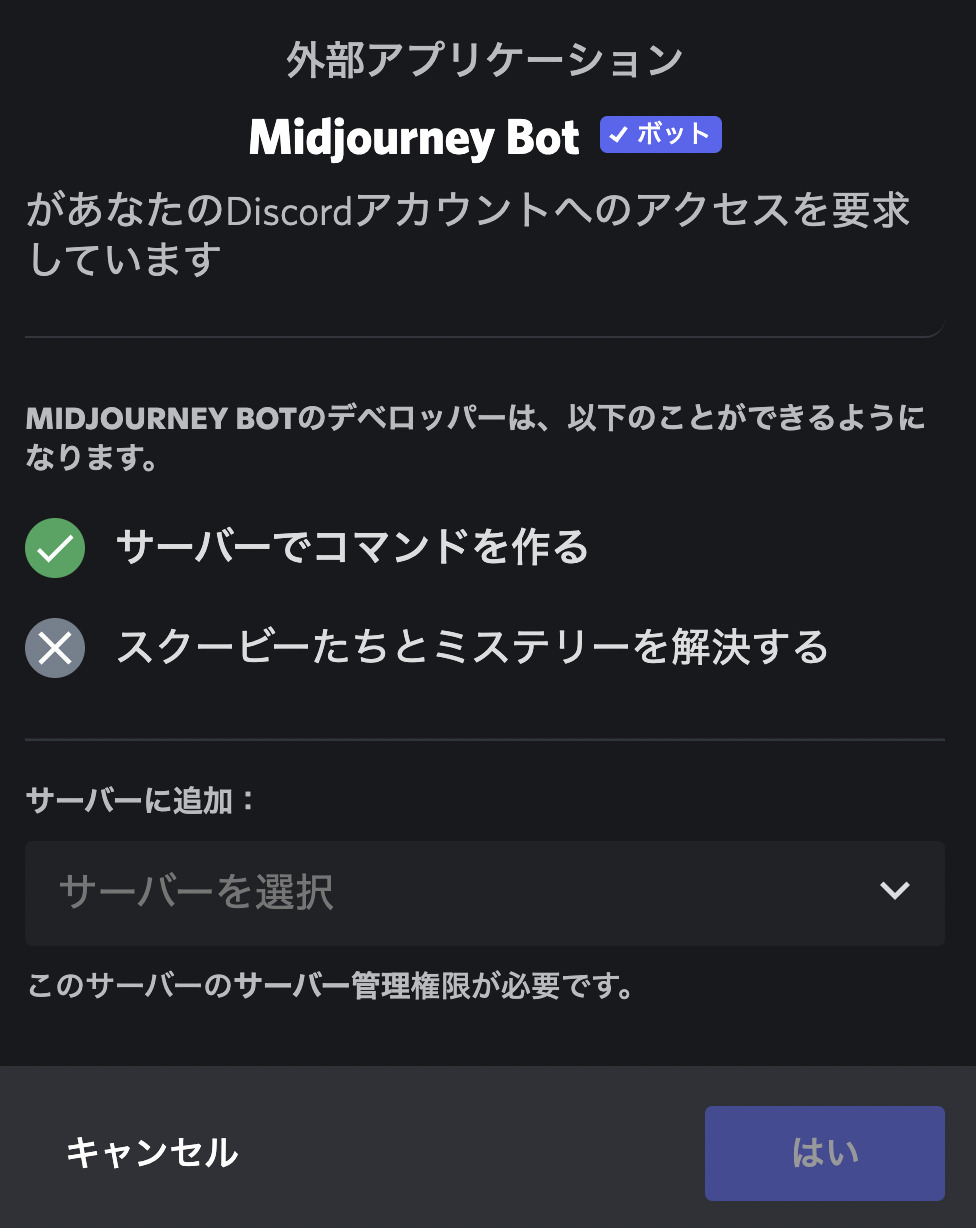
Press "Yes" in the lower right corner.

On this screen, leave the check box as it is and click on "Authentication" in the lower right corner.

You will be asked if you are human, so check "I am human".
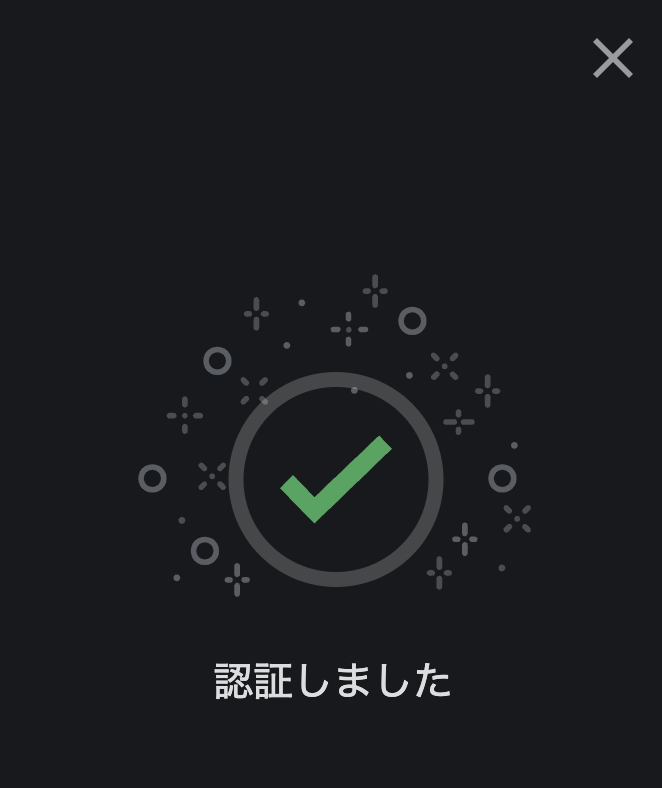
Now you have authenticated your invitation to the server.
Click on the "Mid Journey" server again.

If you look at the upper right corner of the screen, you will see "Online-2" and that the Midjourney Bot has entered the room.
If we do this, we can see that
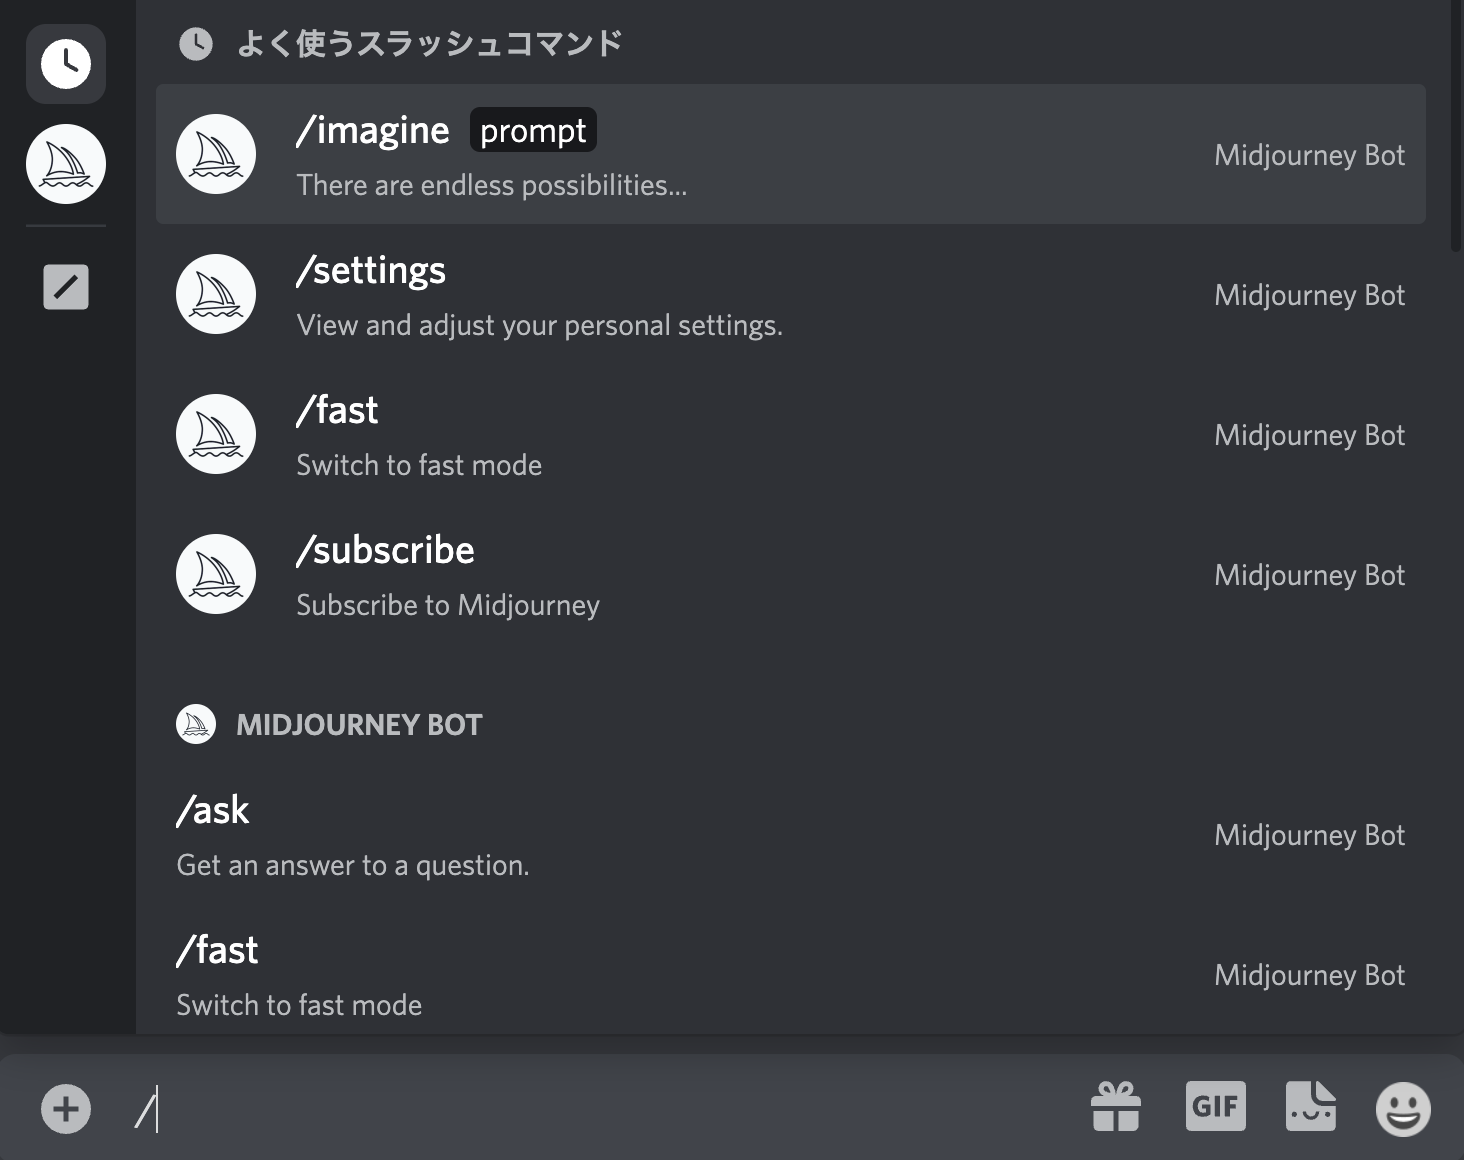
Press "/" to use the Midjourney command normally, as shown above.
Create a category
Now it's time to categorize.
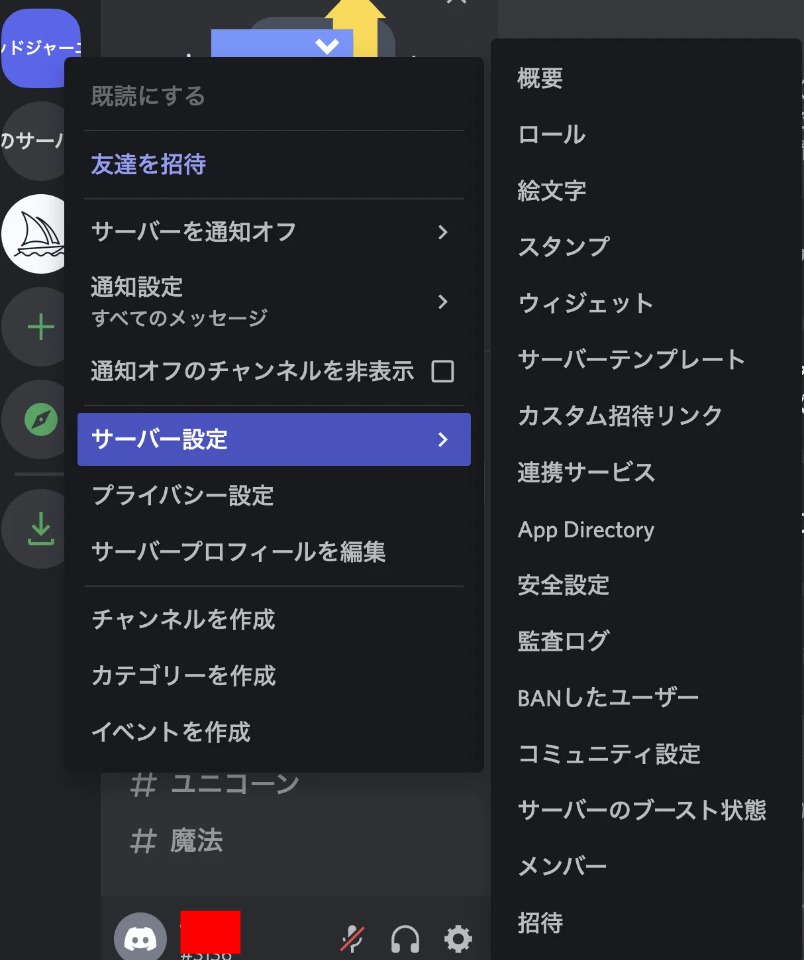
Right click on the "Mid Journey" server on the left side of the screen.

A menu will open, choose "Create Category".

You can enter a category name, so let's say "Landscape".
![]()
![]()
Also, if you turn on the prabate category, you can use the system with peace of mind that others will not be able to view it (it does not have the same effect as the private mode of the subscriber).
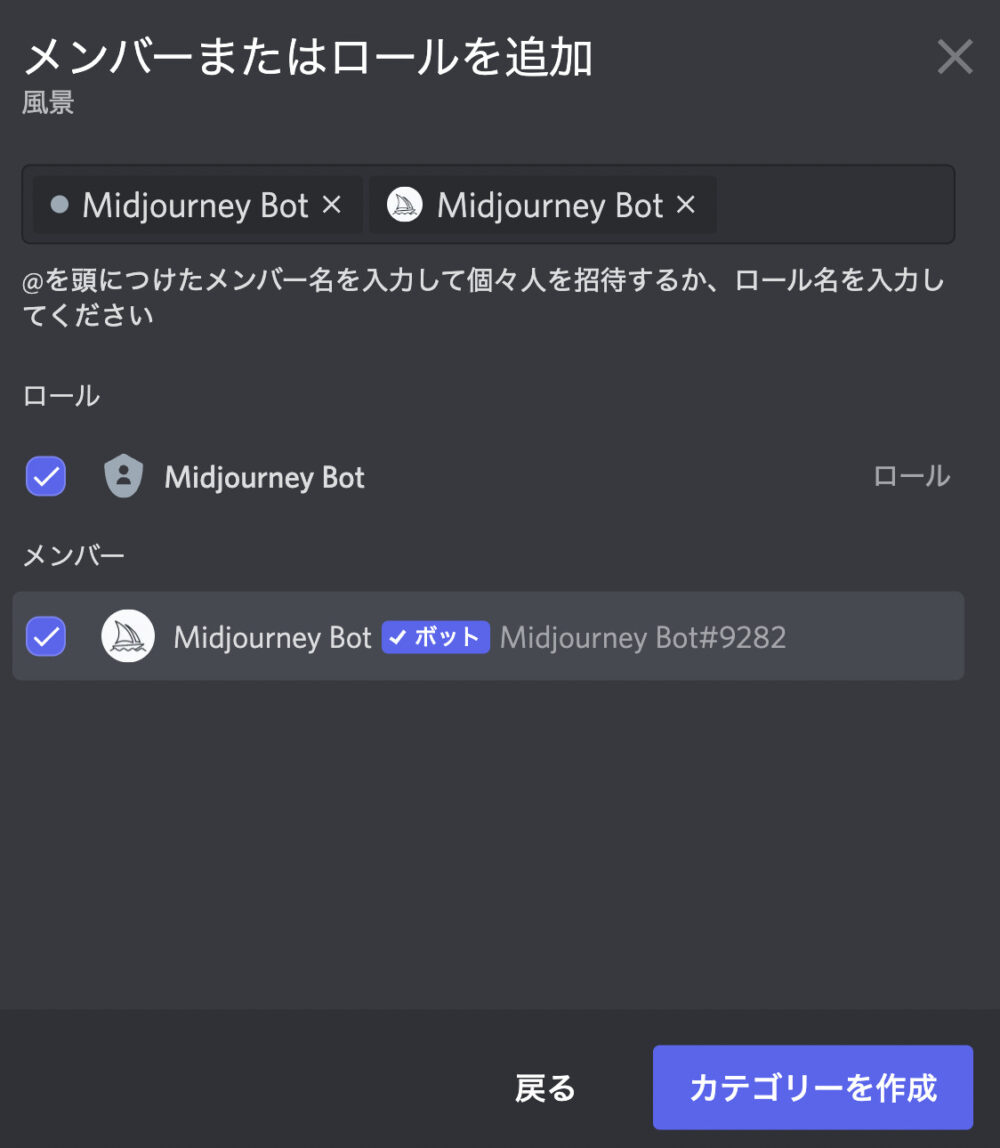
Here, check Roles and Members, respectively (any one of them will do).
Then click on "Create Category" in the lower right corner.

Then, "Landscape" was displayed.
This is the "Category.
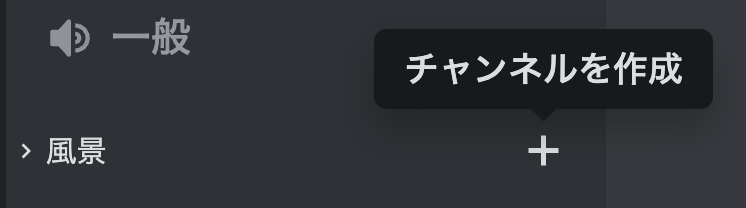
Press the "+" (create channel) next to "Landscape."
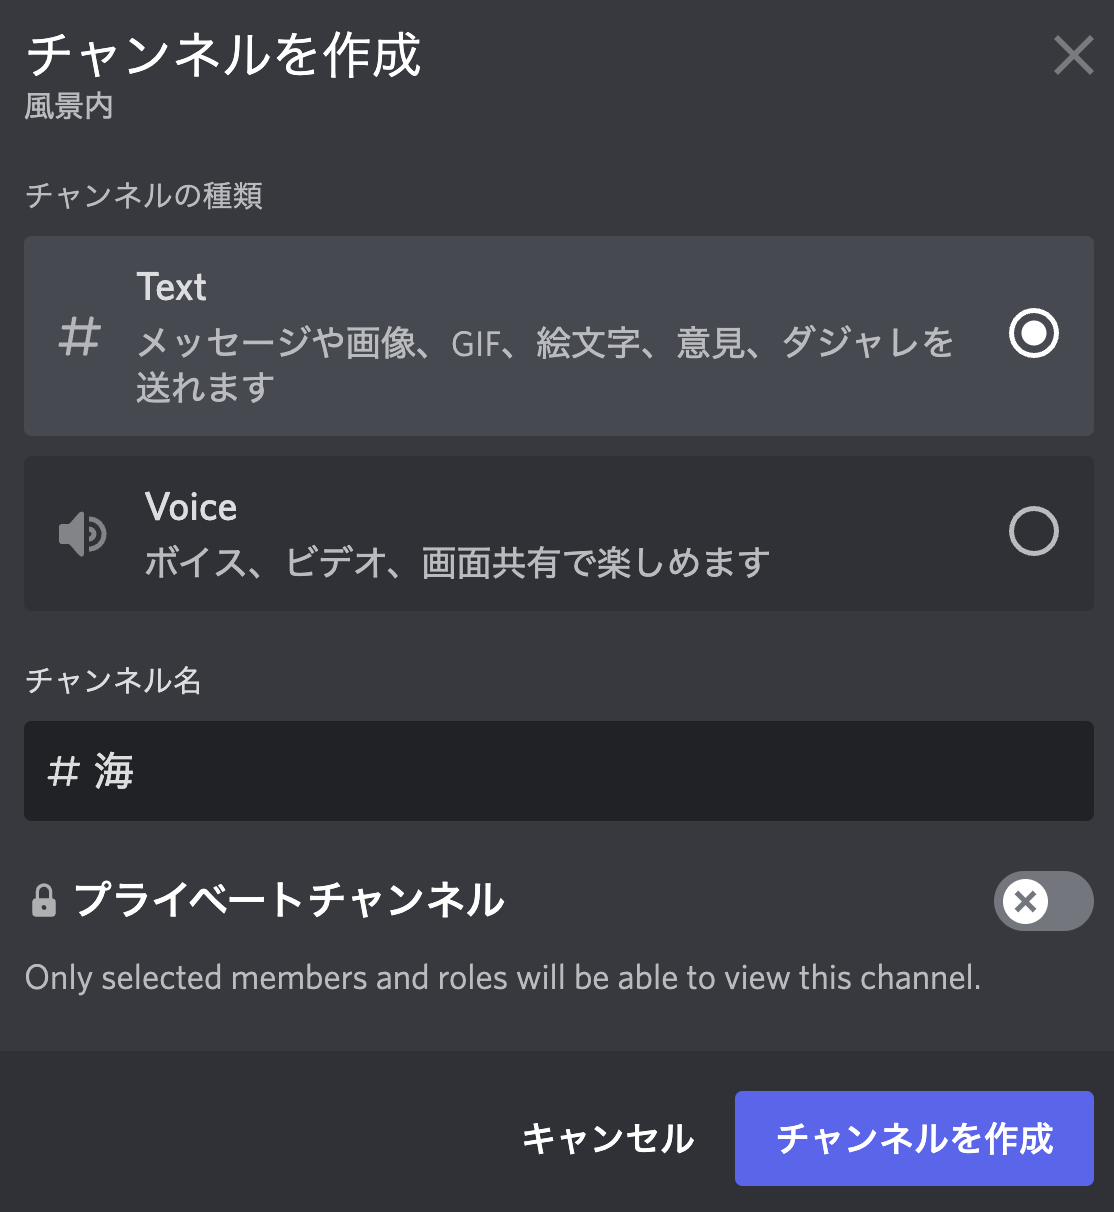
You can enter the name of the channel, so I'll put "sea".
(If you have the private category turned on, the room will remain locked even if the private channel is left off)
Once you have entered the name, click "Create Channel" in the lower right corner.
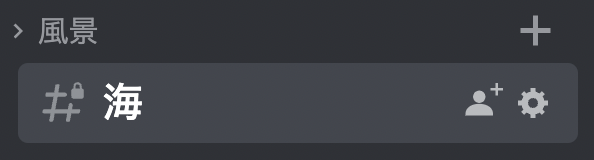
Then, a channel called "Sea" was created in the Landscape category.
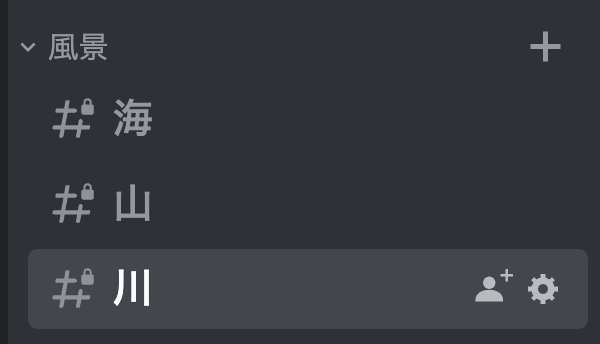
Likewise, when creating channels from the landscape category, it is easy to subdivide the themes as shown in the figure above.
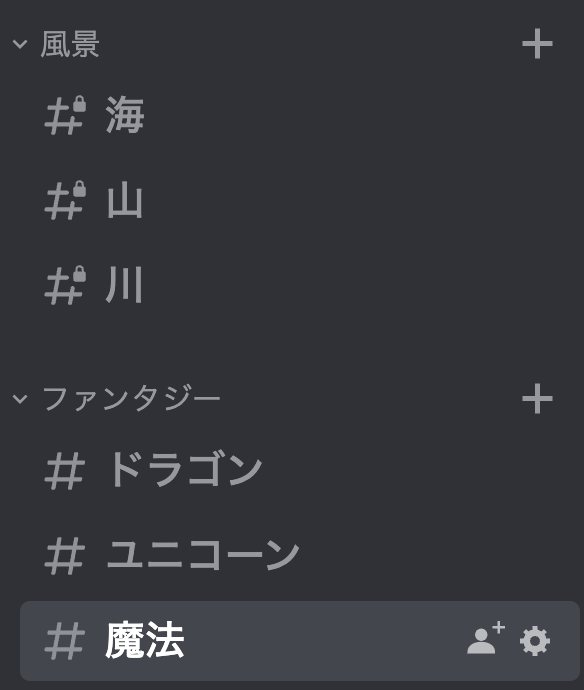
In addition, adding a category and creating multiple channels there as well will increase work efficiency by generating only images that are consistent with the theme.
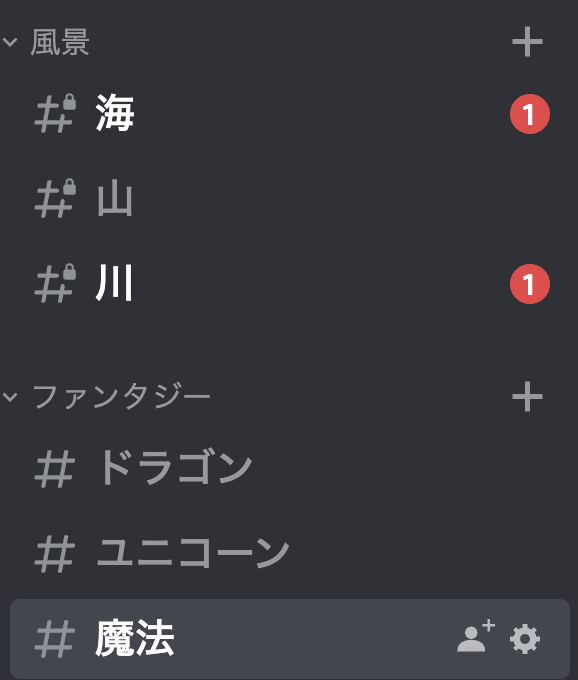
It is also nice to be notified with a red mark when the image that was being generated is complete.
By the way.
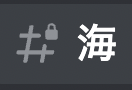
A key mark in # means that it is a pravate category.
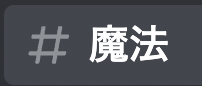
There is no key here. This means that we can confirm that it is not a private category.
How to delete
How to delete a channel
Deleting a channel you have created is easy.

Right-click on the channel you wish to delete and a menu will open.
At the bottom of it, press "Delete Channel," which is written in red.

You will see a message like this: "Delete Channel" to complete the process.
How to delete a category
The method for deleting a category is the same as for deleting a channel.

Right-click on the category you wish to delete and a menu will open.
At the bottom of the menu, select "Delete Category" written in red.
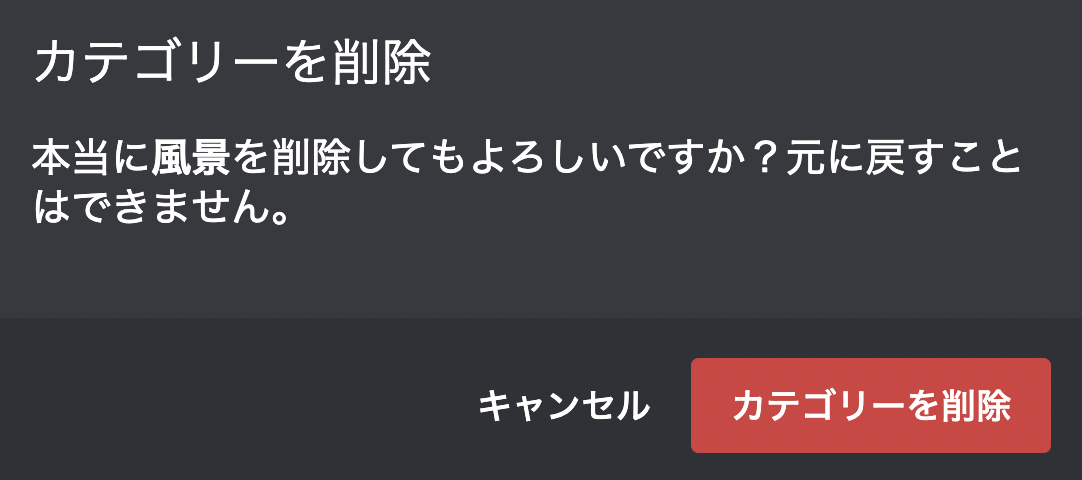
The message "Delete Category" will be displayed, and you are done.
How to delete a server
How to delete a server.
Let's delete the "Mid Journey" server, although we just created it.
Right click on the "Mid Journey" button on the left side of the screen.
A menu will open, and hover over "Server Settings.
A further menu will open, and you can choose any one of them.

You will then see a screen like this.

At the bottom left corner of the page, you will see "Delete Server" and click on it.
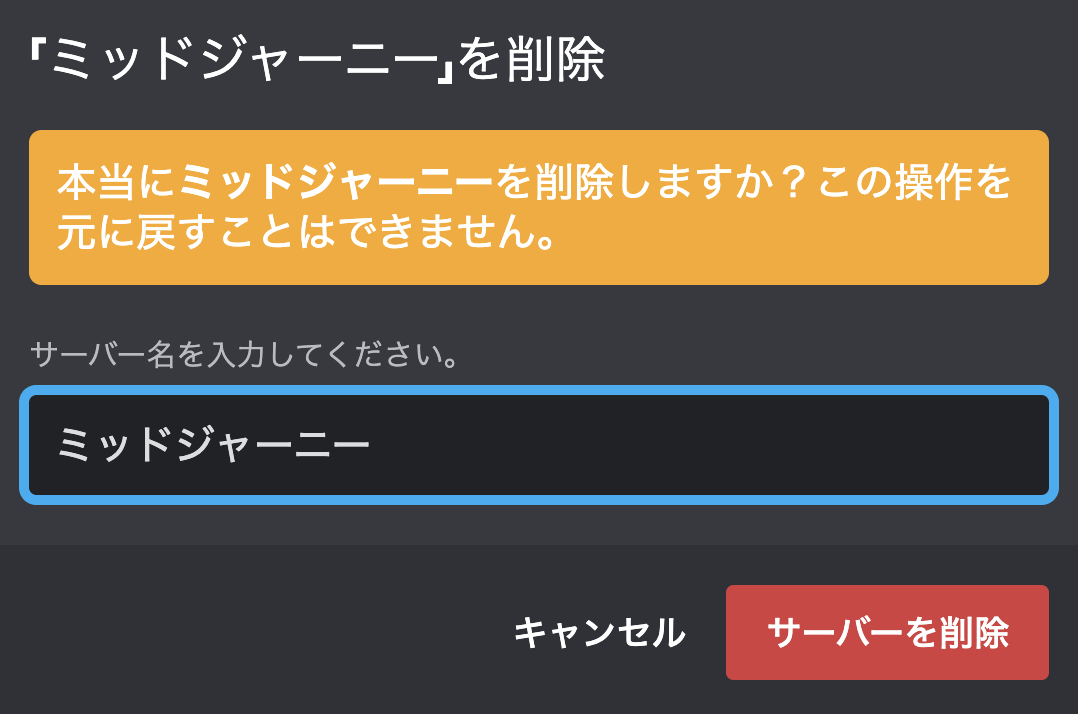
A confirmation screen like this will appear.
Enter the name of the server to be deleted. In this case, it is "Mid Journey".
When you are done, press "Delete Server" in the lower right corner.
The server will now disappear.
Categorize images created in the past
This is about how to categorize the images you have created so far in DM and other channels.
In this case, use /show, although it is quite tedious.
React to the image you want to categorize and press the envelope symbol (the envelope symbol is in the object category).
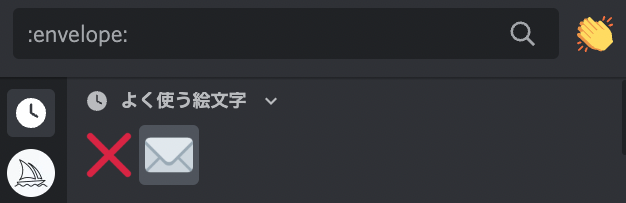
Then, you will receive an image like ↓ in your DM for confirmation.

There, you will find the Job ID.
Job ID "aa7d892d-085a-4a1b-b164-ee603d85f316"
Copy this.

Then go to the channel for the appropriate category and type
Type /show in the message field there.

Paste the Job ID that you have just copied into the "job id" field.
Then press the enter key.
The entire job is then copied to the appropriate channel and the job is complete.
I think the only way to do this is to categorize jobs one by one.
So, basically, I recommend categorizing jobs from the beginning and working across channels to increase efficiency.