ロゴ.png)
Until now, Midjourney did not allow prompts to be added after image generation.
However, a method has now been developed that allows prompts and parameters to be easily added or modified after image generation.
However, this is not an official way to use Midourney, and the specification may change in the near future.
We will show you how to do it below.
P.S. A recent update has officially added "Remix mode," a function that allows you to freely modify prompts and parameters after image generation. Please note that this article is currently only of value as a reference on how to use the /Prefer optino set.
[Remix mode] A new feature long awaited by all mankind! How to use Midjourney!

prefer option set
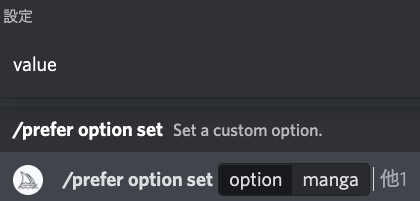
First of all, send the message field
/prefer option set.

You can also put / in the message field and look for it in the list that comes up. That's the top of the image above.

Press it↑and it will look like this.
Put some of the text of the image you are about to create next to the option. I like the text to be used at the end. For Janikurage, I'll put "manga".
![]()
![]()
Then press "→" on the keyboard.
Then you will see "value" and select "value". You can also use "↑" and "↓" on the keyboard.

It will look like this
Put the text next to "value" again.
This time, let's put the same text as before. In other words, "manga".

これでエンターキーを押します。

Custom option manga set to manga!
will be displayed.
Now you can create your own parameters. (A parameter is a text that begins with "--").
If you type "--manga", you have created a parameter that means the same effect as "manga".

Trying to use --manga
Now, let's try using "--manga".
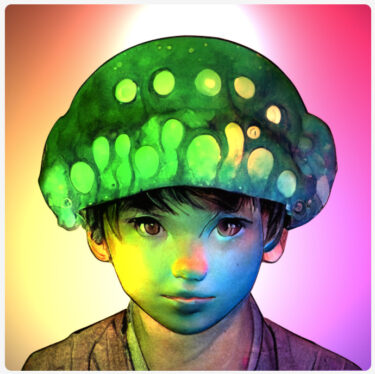
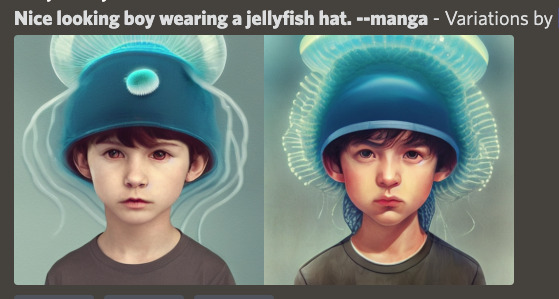
Let's generate an image with "Nice looking boy wearing a jellyfish hat.--manga.
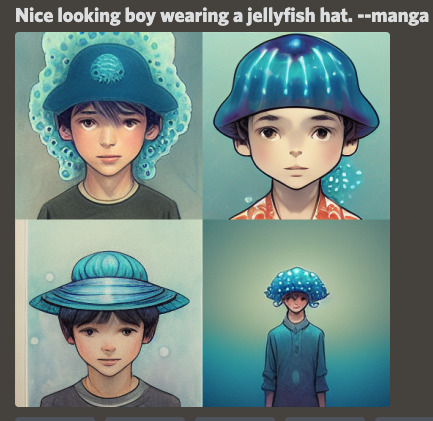
It now looks like this.
Press the reaction button → envelope icon to see the prompt written at the top.

It can be inferred that "--manga" is treated as "manga".
Add a prompt
Now it is time to add or modify the prompts.
As before, open
/prefer option set.
![]()
![]()
Insert manga again next to option.

Then, put any text you like next to the value.
In this case, I put "manga" and "smile".
![]()
![]()
Now press enter.

Custom option manga set to manga,smile!
will be displayed as "--manga".
This means that "--manga" has the same effect as "manga,smile".
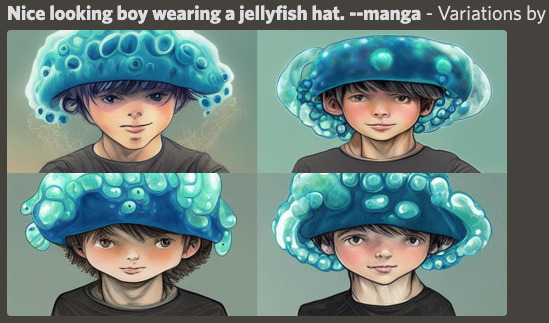
In this state, let's go back to the image we just created and select one of "V1 to V4".
This time, choose "V1".
V1" is the boy in the upper left corner with an unflattering expression.
I will try to produce a variation of that boy.
As a result.
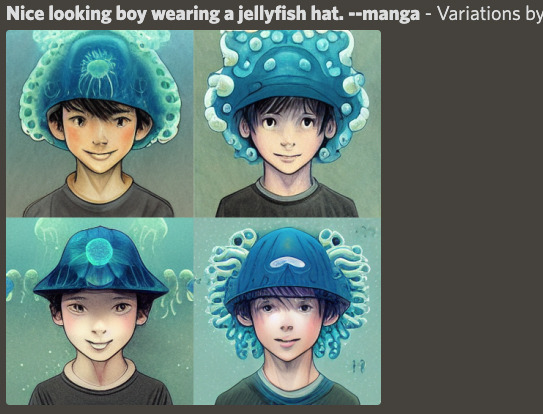
It looks like this.
The boy in the upper left in particular looks a lot like the boy in the original image.

If you look at the detailed prompt, you see that "smile" has been added.
In effect, the "smile" has been added, so the smile has become a smile while retaining the atmosphere of the original image.
Since this is only a "variation" of the original image, it may be difficult to dramatically change the image using this method, but it is easy enough to change the facial expression.
Fixing prompts
Next, let's modify "manga" itself.
Open the /prefer option set.

Next to "option" insert manga as usual.
Next to "value", do not insert "manga", but only "cry", and press the Enter key.
Custom option manga seto to cry!
will be displayed as "--manga".
This means that it has the same effect as "--manga" = "cry".
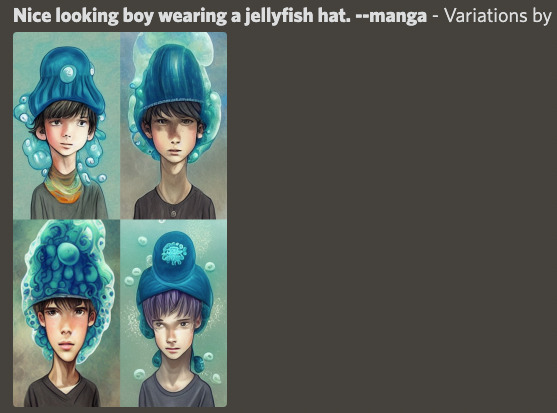
Let's do a variation of the original image again in this state.
This time we will do a variation on the boy in red in the upper right corner.
↓

This time we will do a variation on the boy in red in the upper right corner.
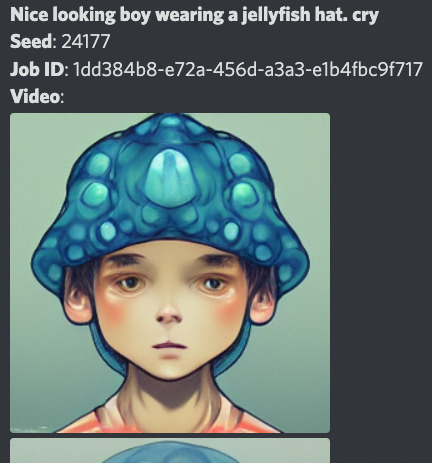
The "manga" has been eliminated from the prompt and only "cry" has been added.
Add parameter
You can also add parameters.
![]()
![]()
Leave manga next to option as it is and put angry --testp next to value.
Put "angry --testp" next to "value".
Press enter.
Again, the contents of "--manga" are updated.
The contents of "--manga" = "angry --testp".
Now we will do the variation to the original image again.
Do a variation of the boy in the upper left corner.
It will look like this.
--testp, so only two images are output.
The picture is angry, yet realistic. Best of all, it retains the atmosphere of the original image, which makes it easy to use.
important point
As a reminder, you cannot put a text prompt after a parameter.
For example, if "--manga" = "cry --textp.
Nice looking boy wearing a jellyfish hat.--ar 2:3 --manga" is not allowed.
This is because it is the same as having the parameter "--ar 2:3" before the text prompt "cry".
It is also not recommended to use a different aspect ratio than the original image.
「--manga」=「manga, --ar 16:9」
「--manga」=「manga, --ar 9:16」
and the picture will simply be stretched.
If you experiment with the above and many others, I am sure you will discover what techniques can be used and what cannot be used.
It's a technique with a lot of potential!