ロゴ.png)
This time, we would like to introduce you to a website that allows you to light up images with "ClipDrop- Relight".
When you place a light on an image, the AI analyzes the undulations of the person or other objects and adds a nice shade to the image.
No login or registration is required. It's free and easy to use for high quality lighting.
You can also use it on your own photos or images output by Midjourney, Stable Diffusion, or other AI image generators.

Go to ClipDrop- Relight website
Go to ClipDrop- Relight website
「ClipDrop- Relight」 https://clipdrop.co/relight
Click on the link above to go to the site.
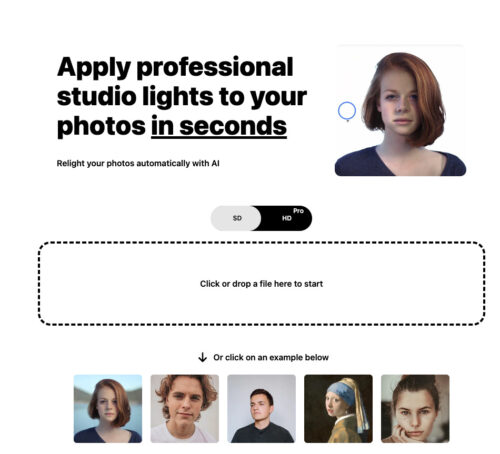

Select the image you want to light.
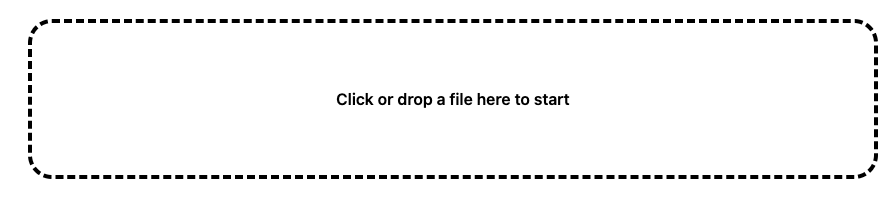
Click "Click or drop a file here to start" or drop an image.
Select the image you wish to light.
Janicrake chose his own icon.
Samples available.
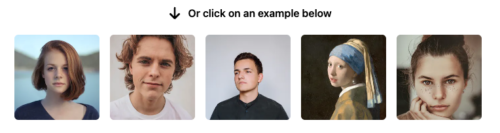
Samples are also provided so that you can practice with them.
How to set up 「Light」
Now, let me quickly describe how to use "ClipDrop- Relight" in earnest.
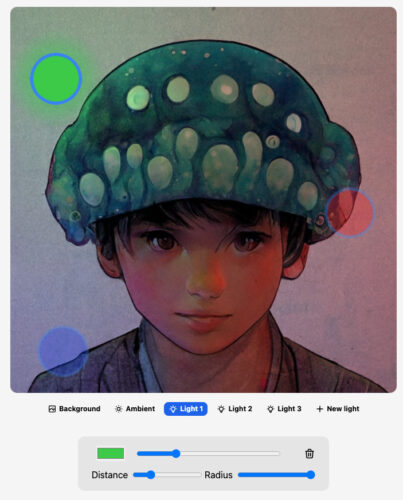
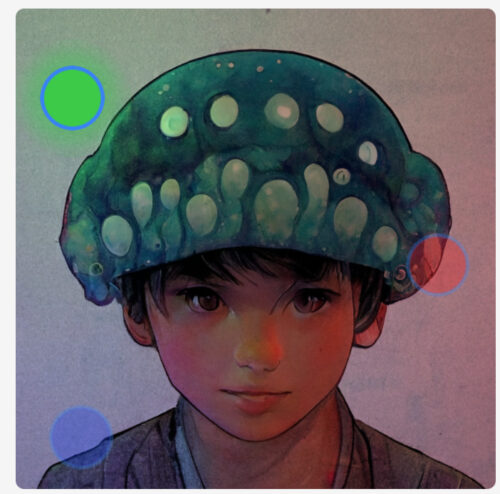
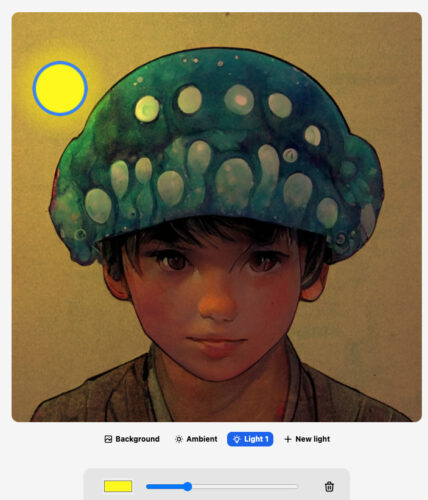
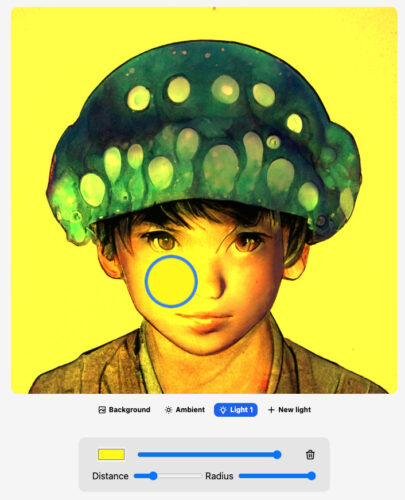
When you upload an image, you should see a screen like this.
There are green, blue, and red circles in the image, and these are lights.
Three lights can be obtrusive, so let's try to use one.
![]()
![]()
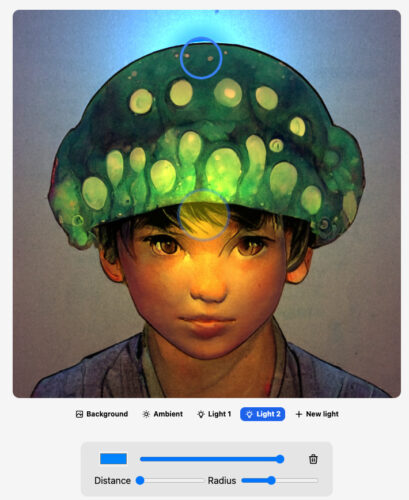
Select "Light2."
![]()
![]()
Then, press the trash bucket on the right side to erase "Light2".
In the same way, "Light3" should also be erased.

Now it is clear that only "Light1" is available.
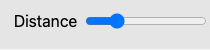
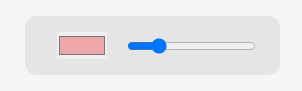
Change the color of the light
How to change the color of the lights.
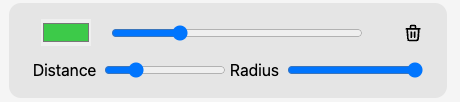
Press the green square in the upper left corner to change the color.
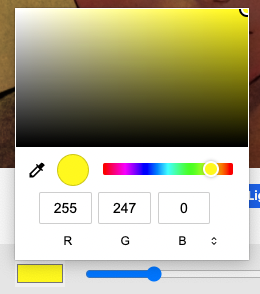
Let's choose a yellowish one this time.
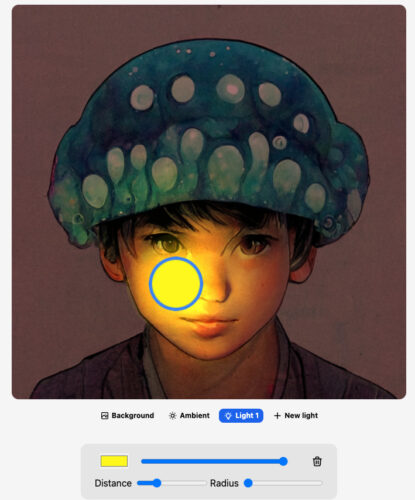
Changing the intensity of the light
Next, let's change the intensity of the light.

The further to the right this blue bar goes, the stronger the light.
Let's pull it to the far right for a test.

This is what happened.
You can see that the light is much stronger than at first.
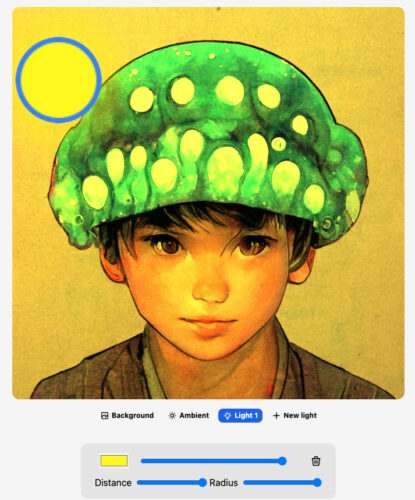
Change the distance between the front and rear of the light.
Lights can be applied from the front or from the rear.
The blue bar under "Distance" allows for adjustment.
When the bar is to the right, the light is shined from the front. In other words, forward lighting.
Conversely, if the bar is to the left, the light will be shined from the rear. Backlighting.
The bar is taken to the maximum to the right, and the light is shining from the front, quite far away.
The bar is pulled to the left to the maximum and lit from far back.
By fine-tuning the distance, it is also possible to bring it closer to the face to focus light more intensely on a localized area, etc.
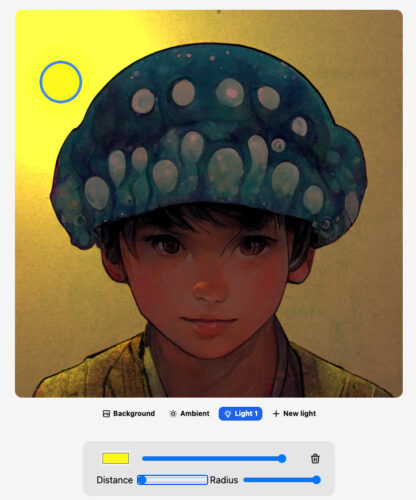
Changing the distance the light can reach
Adjust the distance the lights can reach.
![]()
![]()
The distance the light reaches can be adjusted by moving the blue "Radius" bar to the left or right.
By minimizing the "Radius," the distance that can be reached is minimized.
This allows the light to be applied to a narrower area.
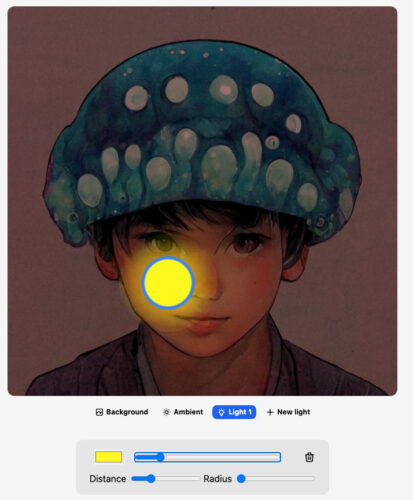
The minimum "Radius" and low intensity will result in a weaker and narrower light.
In this way, the light can be manipulated freely by adjusting the intensity, distance, and range of the "Light".
Add a new light
Let's add a new light.
![]()
![]()
On the far right, "+New light" can be used to add lights.
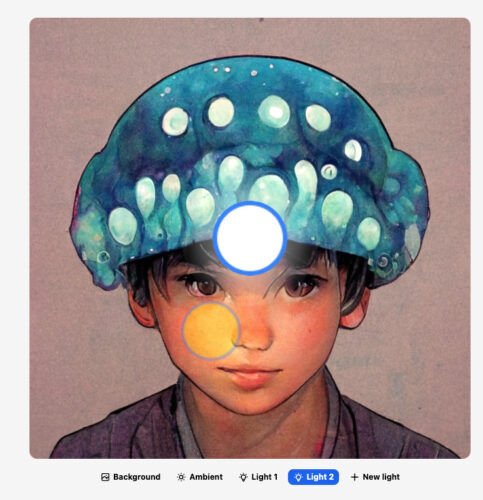
"Light2" was born.
Since more than 10 lights can be created, quite complex lighting is possible.
Blue backlight from behind overhead using two lights. This figure shows yellow forward light from around the eyebrows.
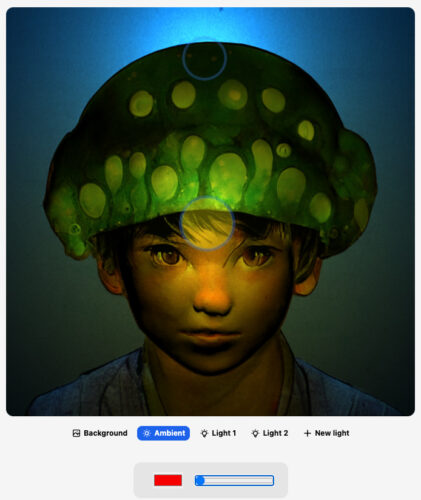
About Ambient Lighting
There is something called ambient light.
![]()
![]()
Click on "Ambient," second from left.
You will see a colored rectangle and a bar.
This is the Ambient Light adjustment item.
Ambient light refers to ambient lighting and reflects the overall color and intensity of the light on the screen.
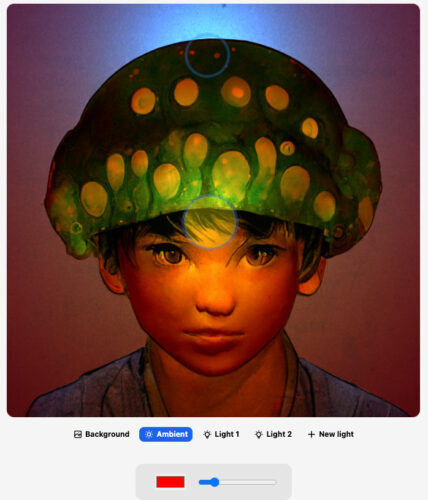
If the color is set to red, the entire screen becomes reddish.
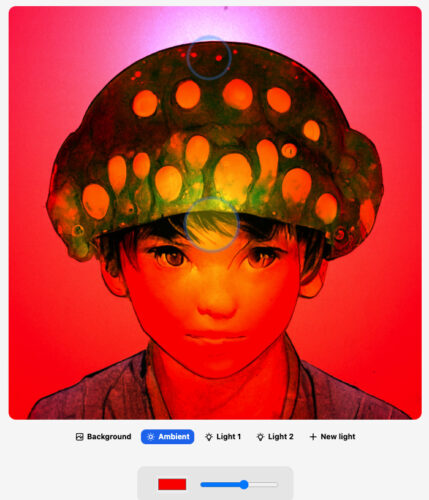
As the bar is pulled to the right, the screen becomes redder and redder.
If you move the light completely to the left, the ambient light effect is lost.
You may combine the effects of ambient light with those of regular light to create a variety of lighting effects.
Let's change the background.
You can also change the background.
![]()
![]()
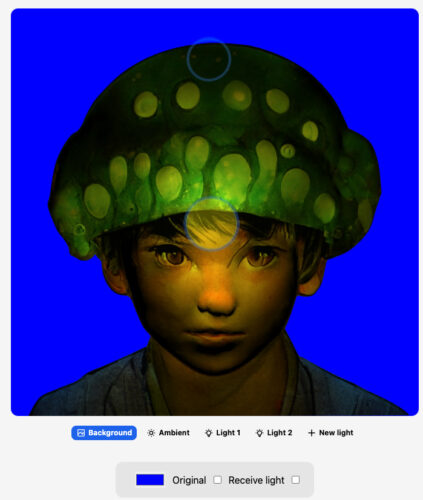
Select "Background" on the far left.
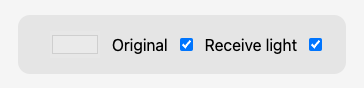
This is what you will see.
You can now adjust the background.
Uncheck "Receive light" on the far right.
It will look like this.
The background will no longer be affected by the light.
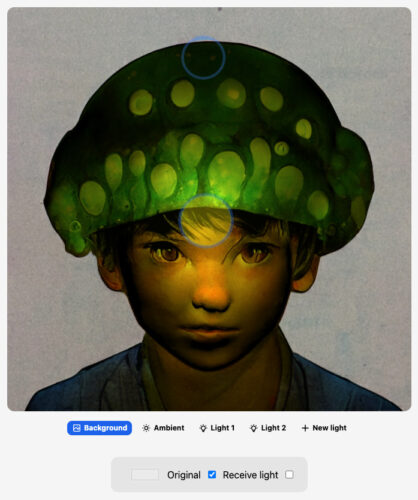
Next, uncheck "Original."
The image will look as if only the person has been cropped.
The background of the original image has been removed.
You can also change the color only if "Original" is unchecked.
Click on the white square on the left to change the color.
Blue color.
This can also be done by checking the "Reverse light" checkbox to reflect the light again.
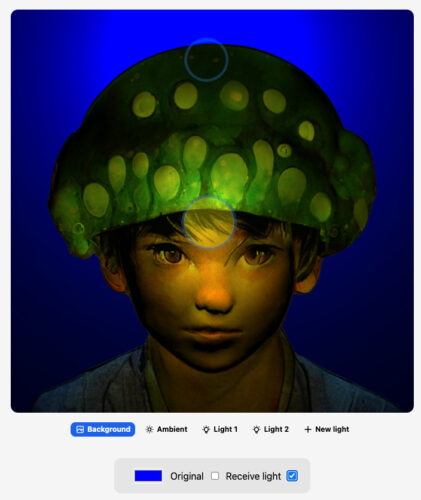
The light is now reflected in the background like this.
Check Method
If you have been lighting, but the light circles are in the way, try hiding the lights.

Click on the eye icon in the upper right corner of the screen.
You will then see
![]()
![]()
The eye markings change.
The light circle will also disappear, making the screen easier to see.
Also, the upper right corner of the screen
![]()
![]()
When you press the electric symbol.

You can see the original image without any lights on it.
Please use this to check how the light has changed the image.
How to Download
The resulting image can be downloaded.
Save the image from "Download" in the upper right corner.
Without paying, you can download 1024 x 1024 size images.
For $9 per month or $60 per year, you can download HD size images and use them with various software.
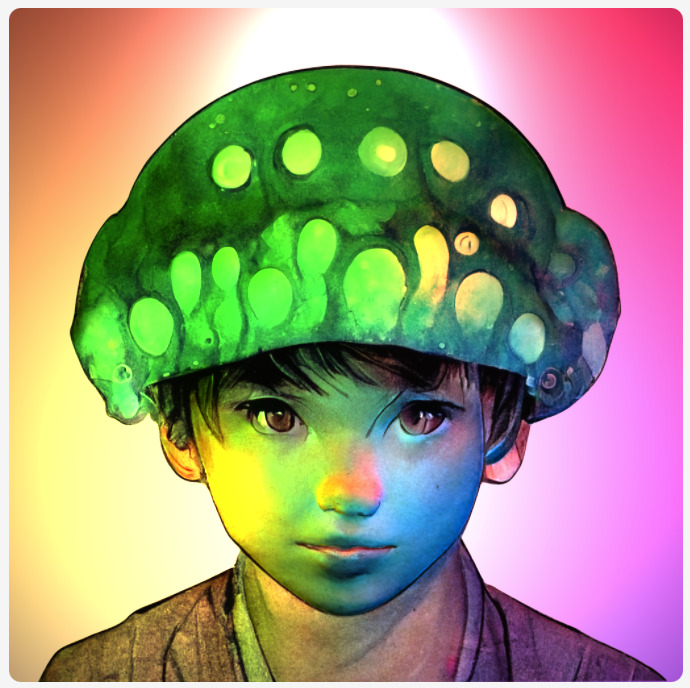
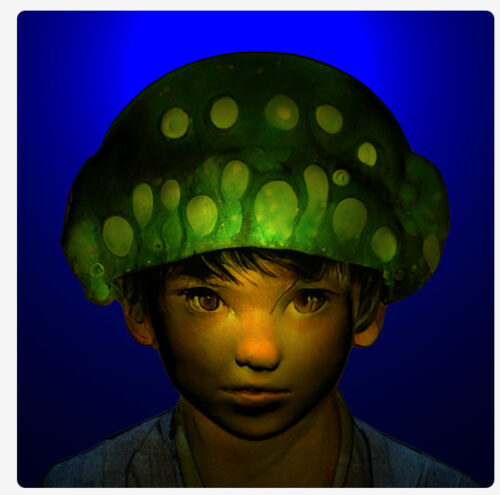
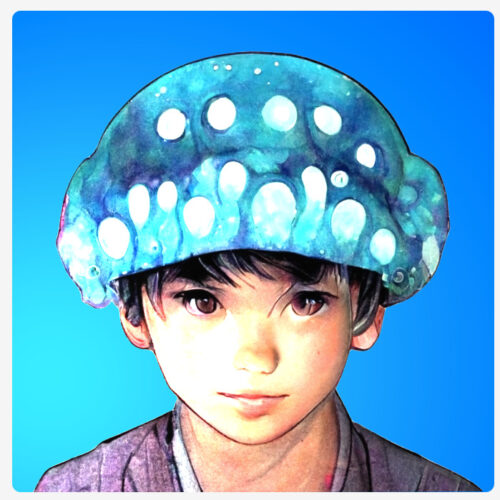
I have tried many things.
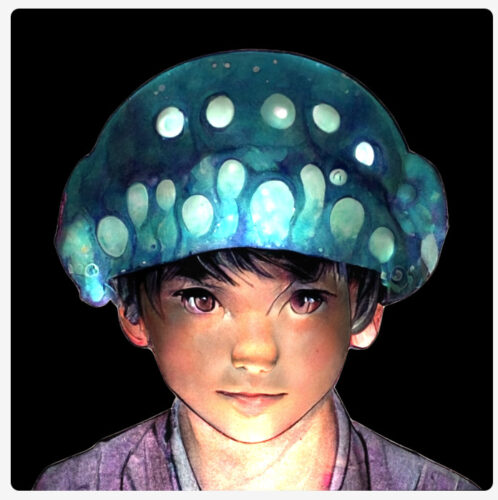
The view from the bottom with the light shining on it.
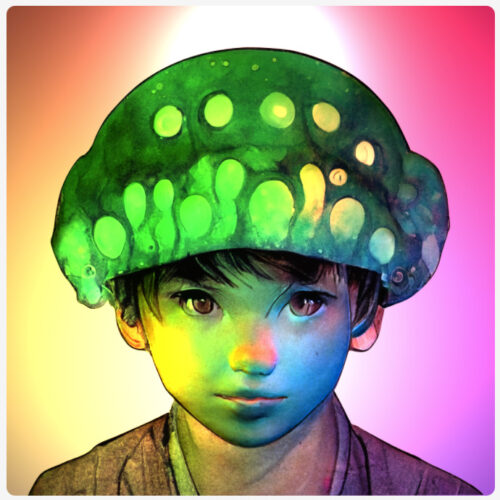
The look with various colors.
Refreshing?
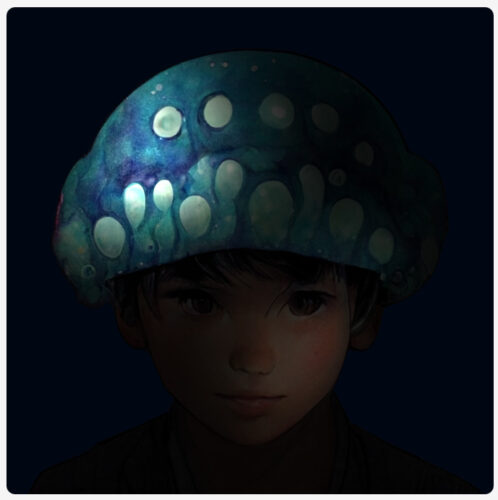
Spooky?
Etc. Anyone can easily try it, so please try it if you like!
「ClipDrop- Relight」 https://clipdrop.co/relight